

Presets are published in the snapshot, like the catalog: the register receives them at its next refresh. The cashier can still enter a free discount (percent or amount) without a preset — see Discounts at the register (retail) and Managing an order (restaurant).
Create a preset
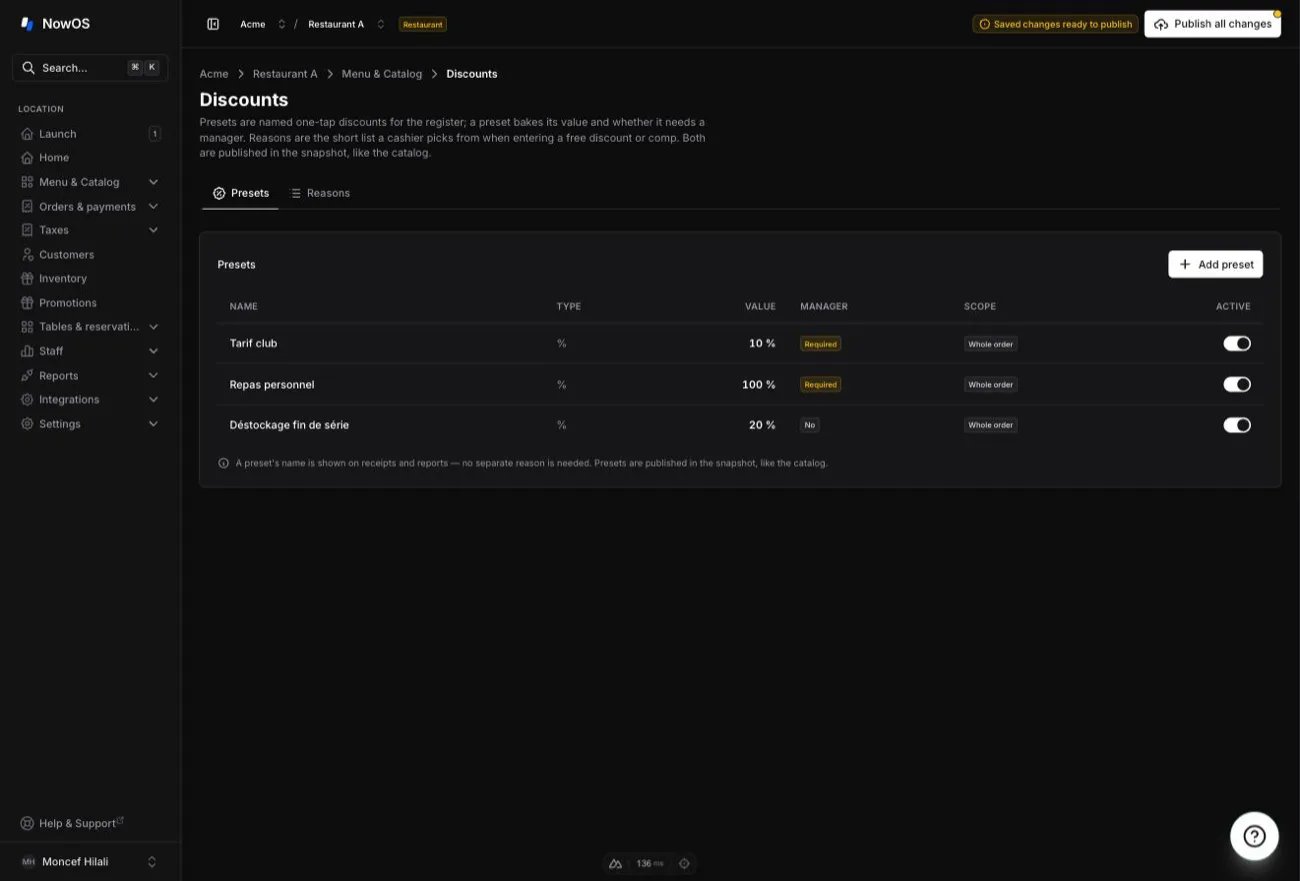
- Open Catalog → Discounts, Presets tab.
- Tap Add preset and fill in:
- Name — shown at the register (e.g. “Loyalty club”). This name also serves as the reason on the receipt and in reports.
- Type — Percent or Amount (fixed amount).
- Value — the percentage (1 to 100) or the amount.
- Scope — where the discount lands: the whole cart, selected items, or the cashier’s choice.
- Require manager — when on, applying this preset asks for a manager PIN at the register.
- Active — turn off to pull a preset from the register without deleting it.
- Publish to push the change to the register.
Edit or delete
Tap a row to open the preset and edit it, or delete it. The Active switch in the right column turns a preset on or off directly, without opening the form. Remember to publish after your changes.A preset carries its name as the label on the receipt and in reports — e.g. an “Open box” preset shows under that name. (Breakage and loss are not discounts — record them as a stock adjustment.)
Discount reasons
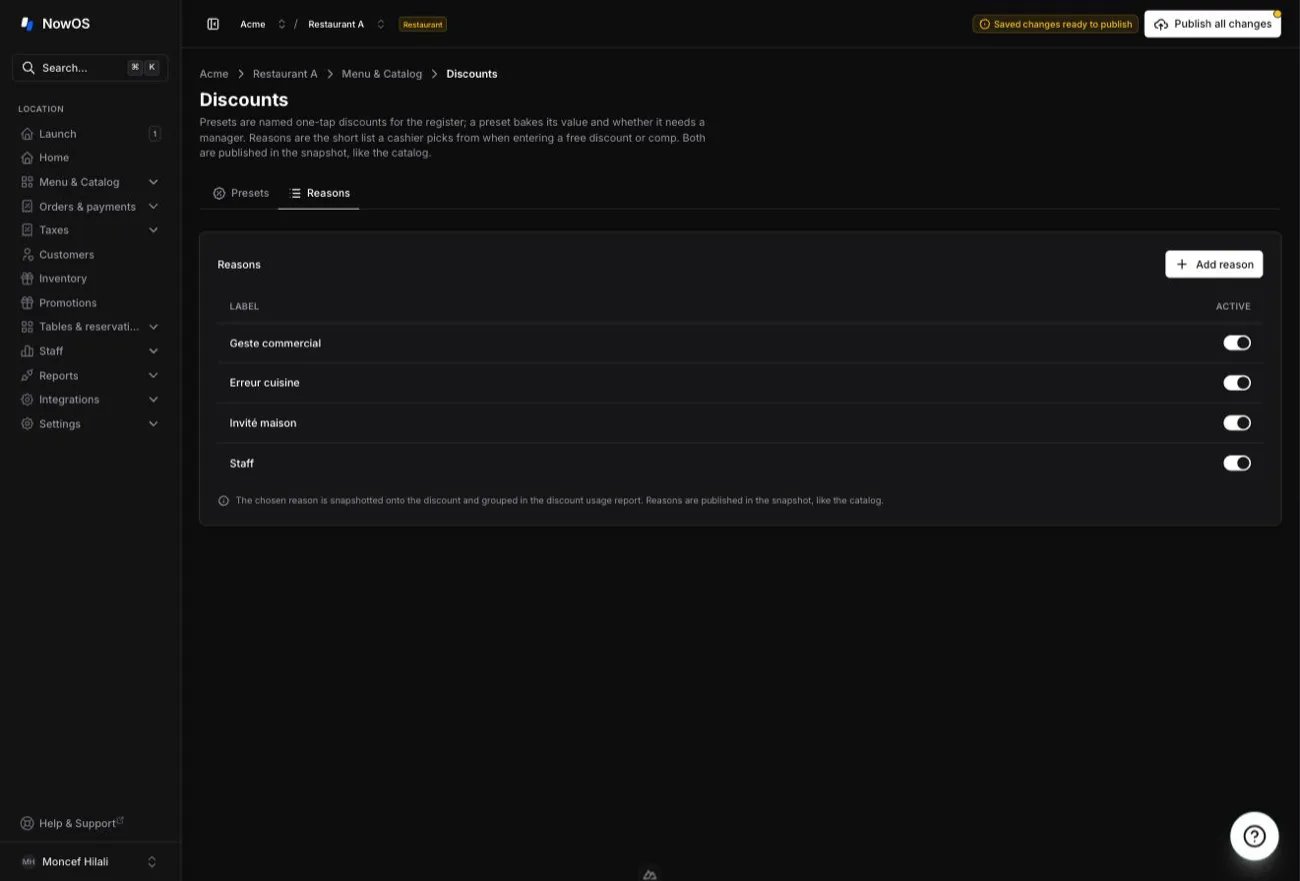
When a cashier applies a free discount (percent, amount, or a comped item), they have to give a reason. These reasons form a list you manage in the Reasons tab of the Discounts page — you decide exactly what your staff can pick. Every new location starts with a few reasons already set up (the starter list differs slightly between restaurant mode and retail mode), which you then edit freely:- Add reason — add a reason (e.g. “Goodwill”, “Entry mistake”).
- Tap a row to rename a reason.
- The Active switch pulls a reason from the register without deleting it; a reason already used on past discounts stays readable in reports.
Discount reasons are separate from refund reasons, which have their own list — see Refunds.