

This page applies to restaurant mode. In retail mode, before payment
the right-hand panel is a simple cart with no Actions tab: you go straight
to payment (see Taking payments). After payment, a paid
order offers an Actions sheet (reprint receipt, issue invoice, refund) —
see Receipts and printing.
Open the Actions tab
Open an order, then tap the Actions tab at the top of the right-hand panel (between Check and Guest). You can also swipe the panel left from the Check tab. The Split, Pay, and Send buttons stay visible at the bottom while you use the tab. A badge appears on the Actions tab when the order carries a kitchen note: everyone can see at a glance that there is something to know about this order.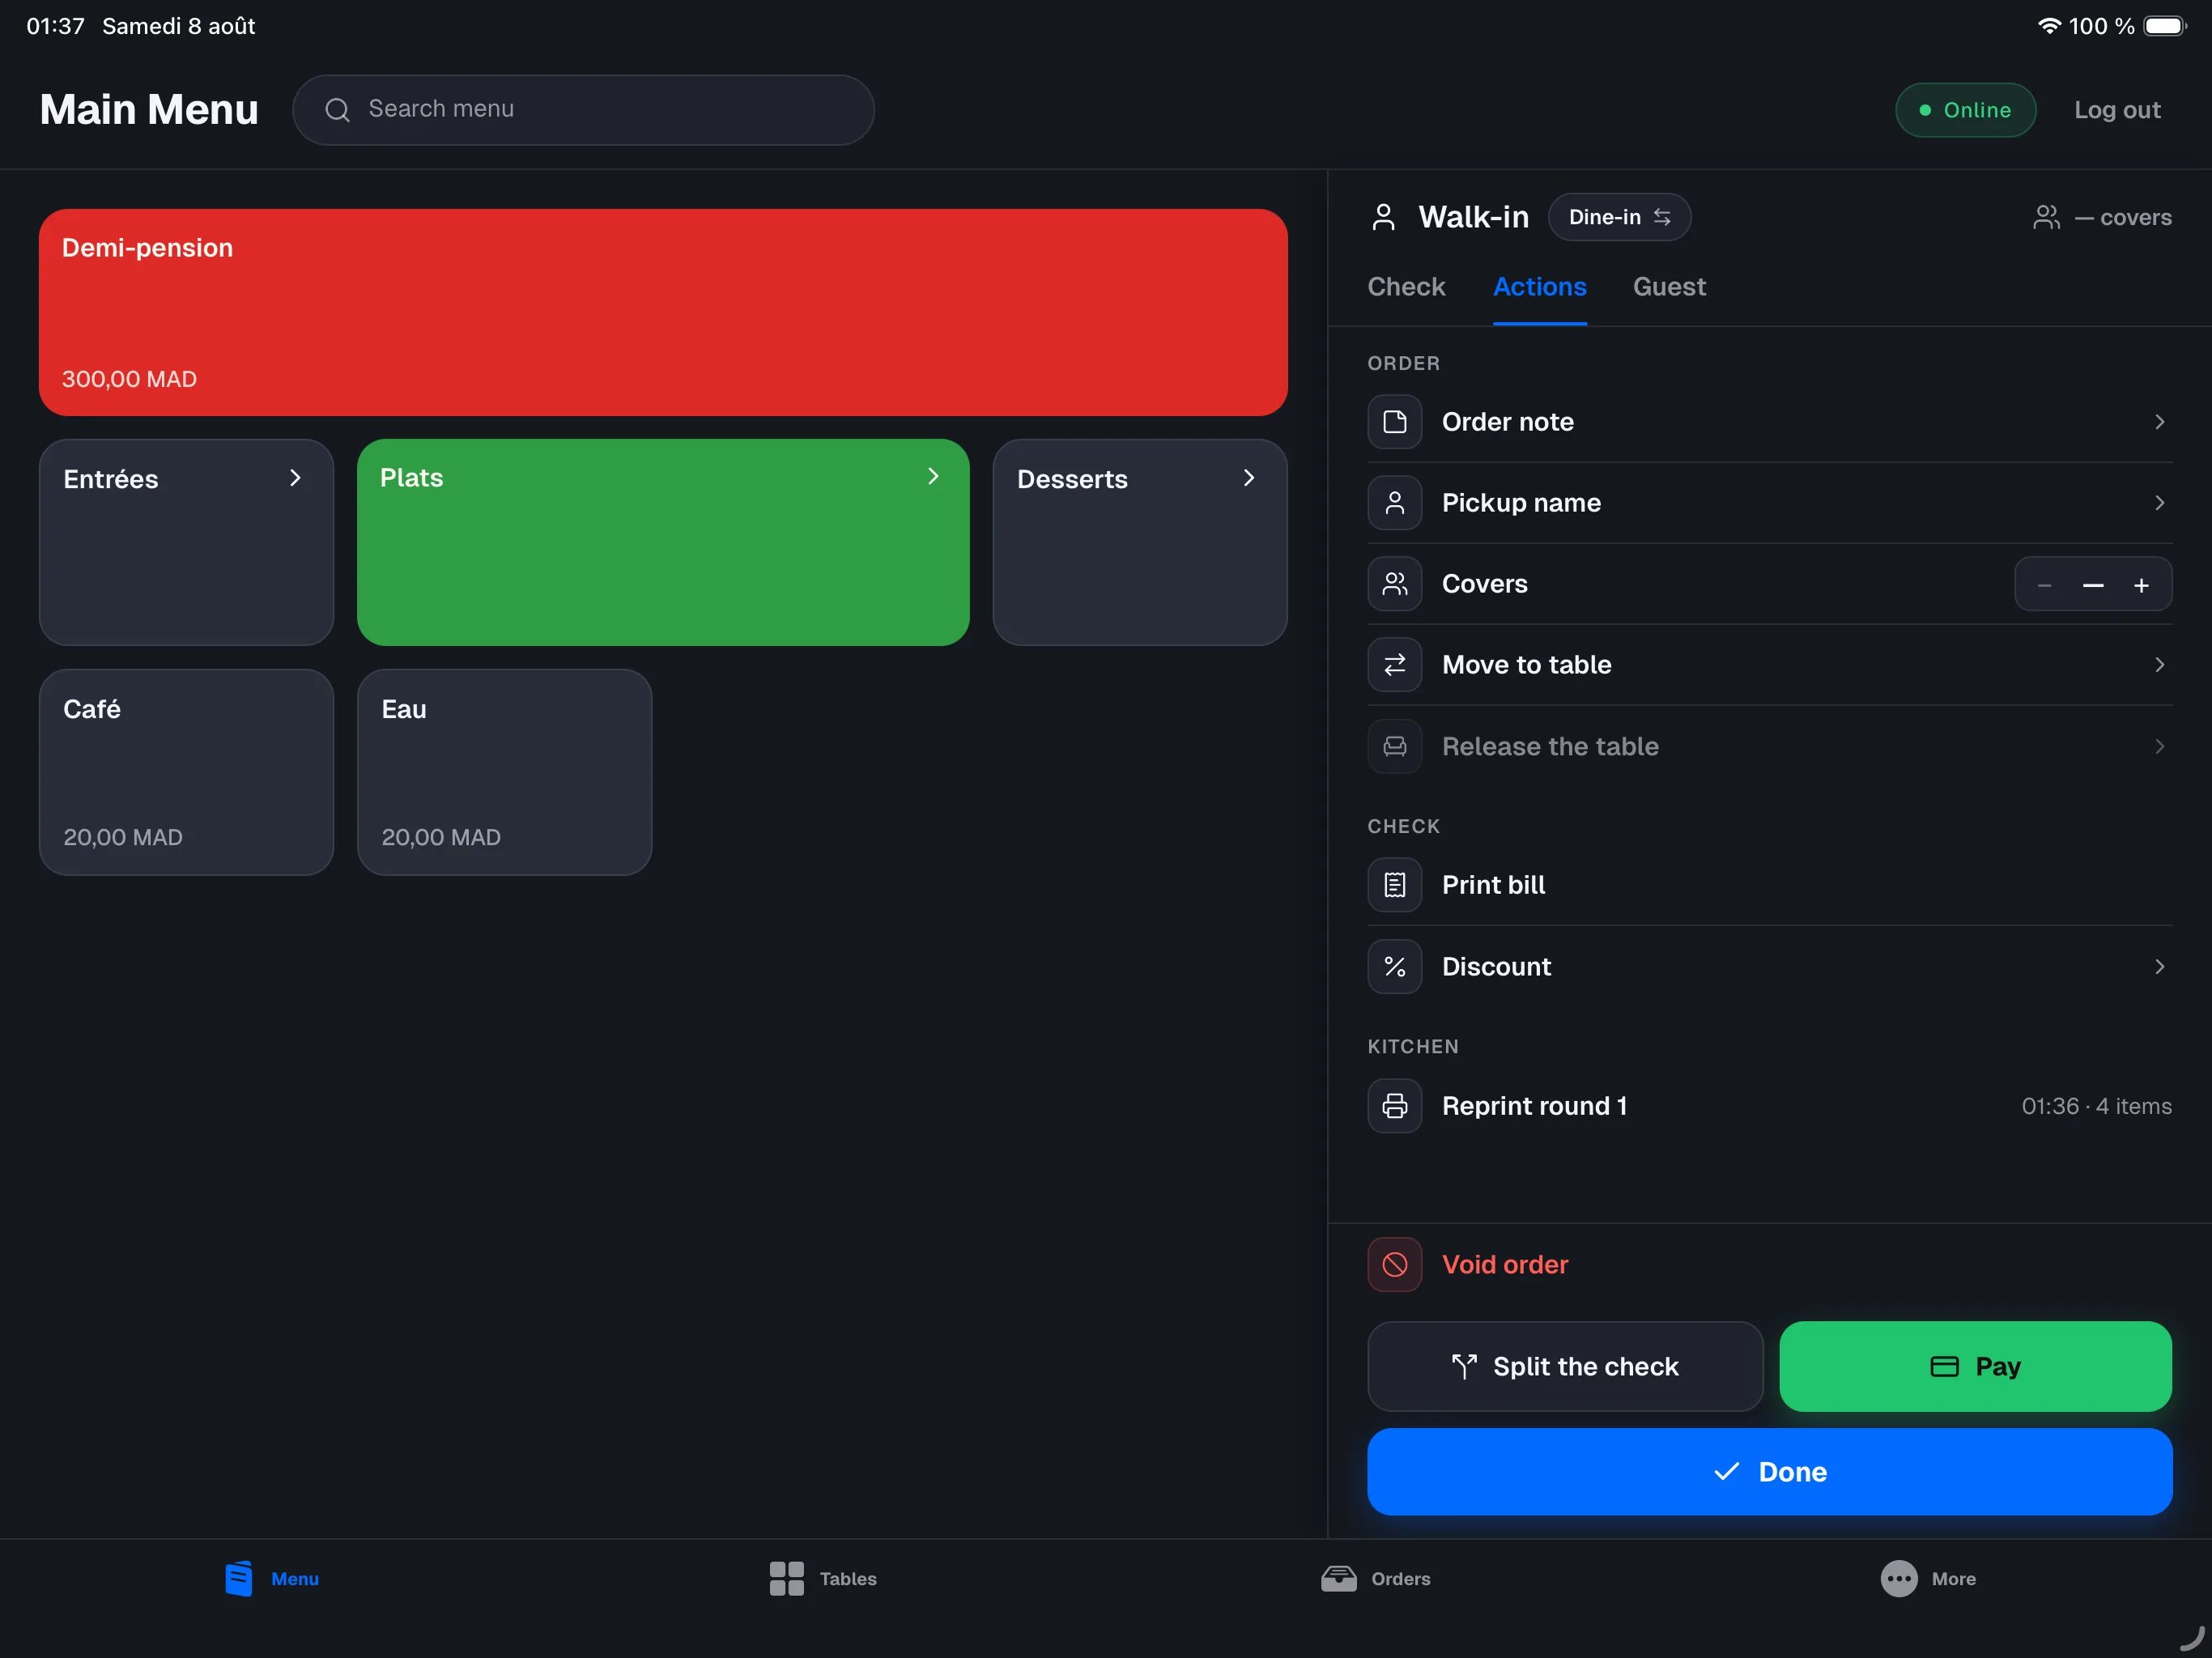
Add a kitchen note
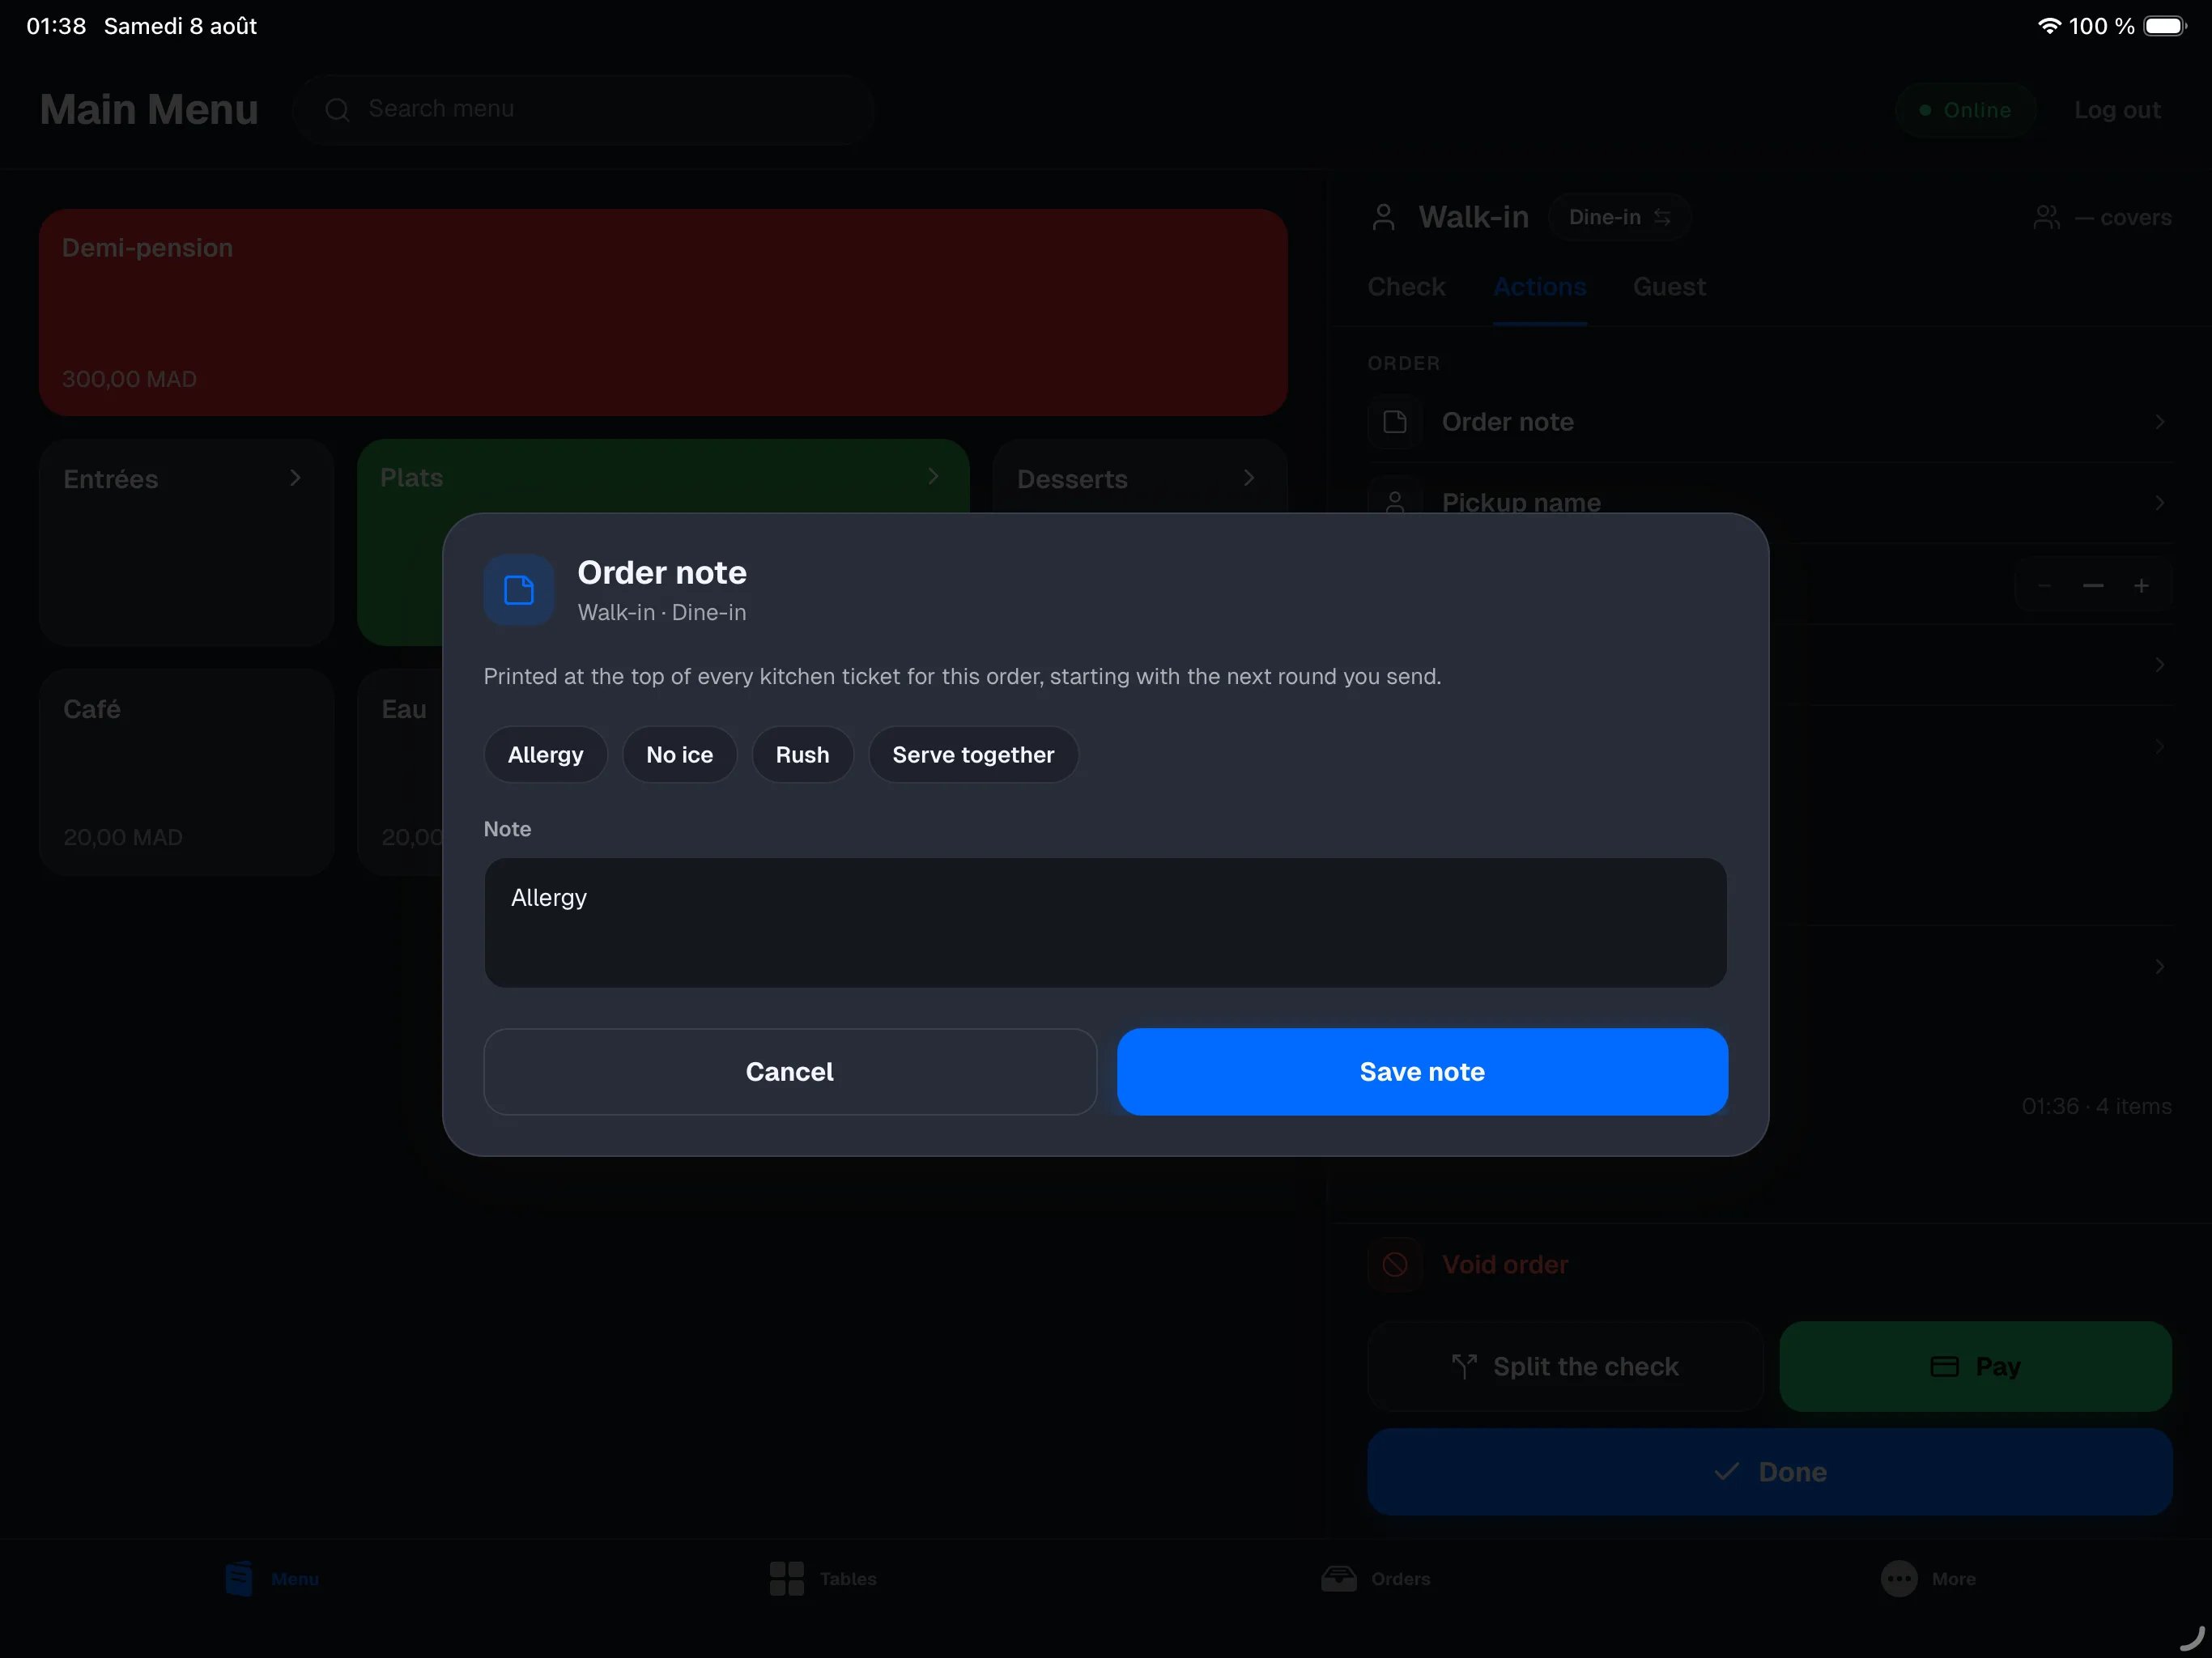
The kitchen note is free text attached to the whole order. It prints at the top of every kitchen ticket for this order, starting with the next round you send.1
Tap Order note
The Order note window opens.
2
Write the note
Type your text in the Note field, or tap a quick chip — Allergy,
No ice, Rush, Serve together. Each chip is added after what is
already written; it does not replace it.
3
Tap Save note
The note is saved. The Order note row icon turns blue and the badge
appears on the Actions tab.
The note goes to the kitchen with the next round. Kitchen tickets already
printed do not change — if the dish has already gone out, tell the kitchen in
person or reprint the ticket (see below).
Order seated from a reservation: the internal note written in your
reservation provider is already there when you open the order — nothing to
copy over. What you write here travels back to the provider, and what changes
there comes back here. Last edit wins.
Set covers
Covers are the number of guests at the table. The Covers row shows a − / + stepper:- tap + to increase the cover count (the first tap goes from ”—” to 1);
- tap − to decrease it, down to a minimum of 1.
When the table was opened from a reservation, the correction is sent back
to your reservations provider: the booking there moves to the new cover count.
You never have to change it in two places — and the old number cannot come
back onto the order at the reservation’s next update.
Pickup name
On a takeaway order, the Pickup name row gives the order a name — a first name, a party name, a pager number. It’s what gets called at the counter and what prints large on the preparation ticket. See taking an order.Move or release the table
On a seated order, two rows manage its table:- Move to a table — the floor plan enters selection mode: tap the new table or tables, then confirm. The order follows, with its items and its covers.
- Release the table — the table becomes available again on the floor plan (and the linked reservation is notified, if any). It’s the required step to switch a seated order to takeaway: a takeaway order doesn’t occupy a table.
Discard items not yet sent
When the order contains items that have not been sent to the kitchen yet, the Discard new items row appears, with the number of items concerned. Tap it to remove all pending items at once — for example when the customer changes their mind before you send.Print the bill
Print bill prints the bill to present to the customer before payment.1
Send the items first
The bill can only be printed after at least one round has been sent to the
kitchen. Until something has gone out, the row shows Nothing sent yet.
2
Tap Print bill
The row shows Printing… then Queued: the bill goes to the receipt
printer.
Printing always runs through the main register — it is the one driving the
printers. From a secondary device (another iPad, or the handheld), the print
rows send the request to the register over your local network, and the
document comes out of the same printers. If no receipt printer is configured,
the register tells you. See Receipts and
printing.
Discount or comp
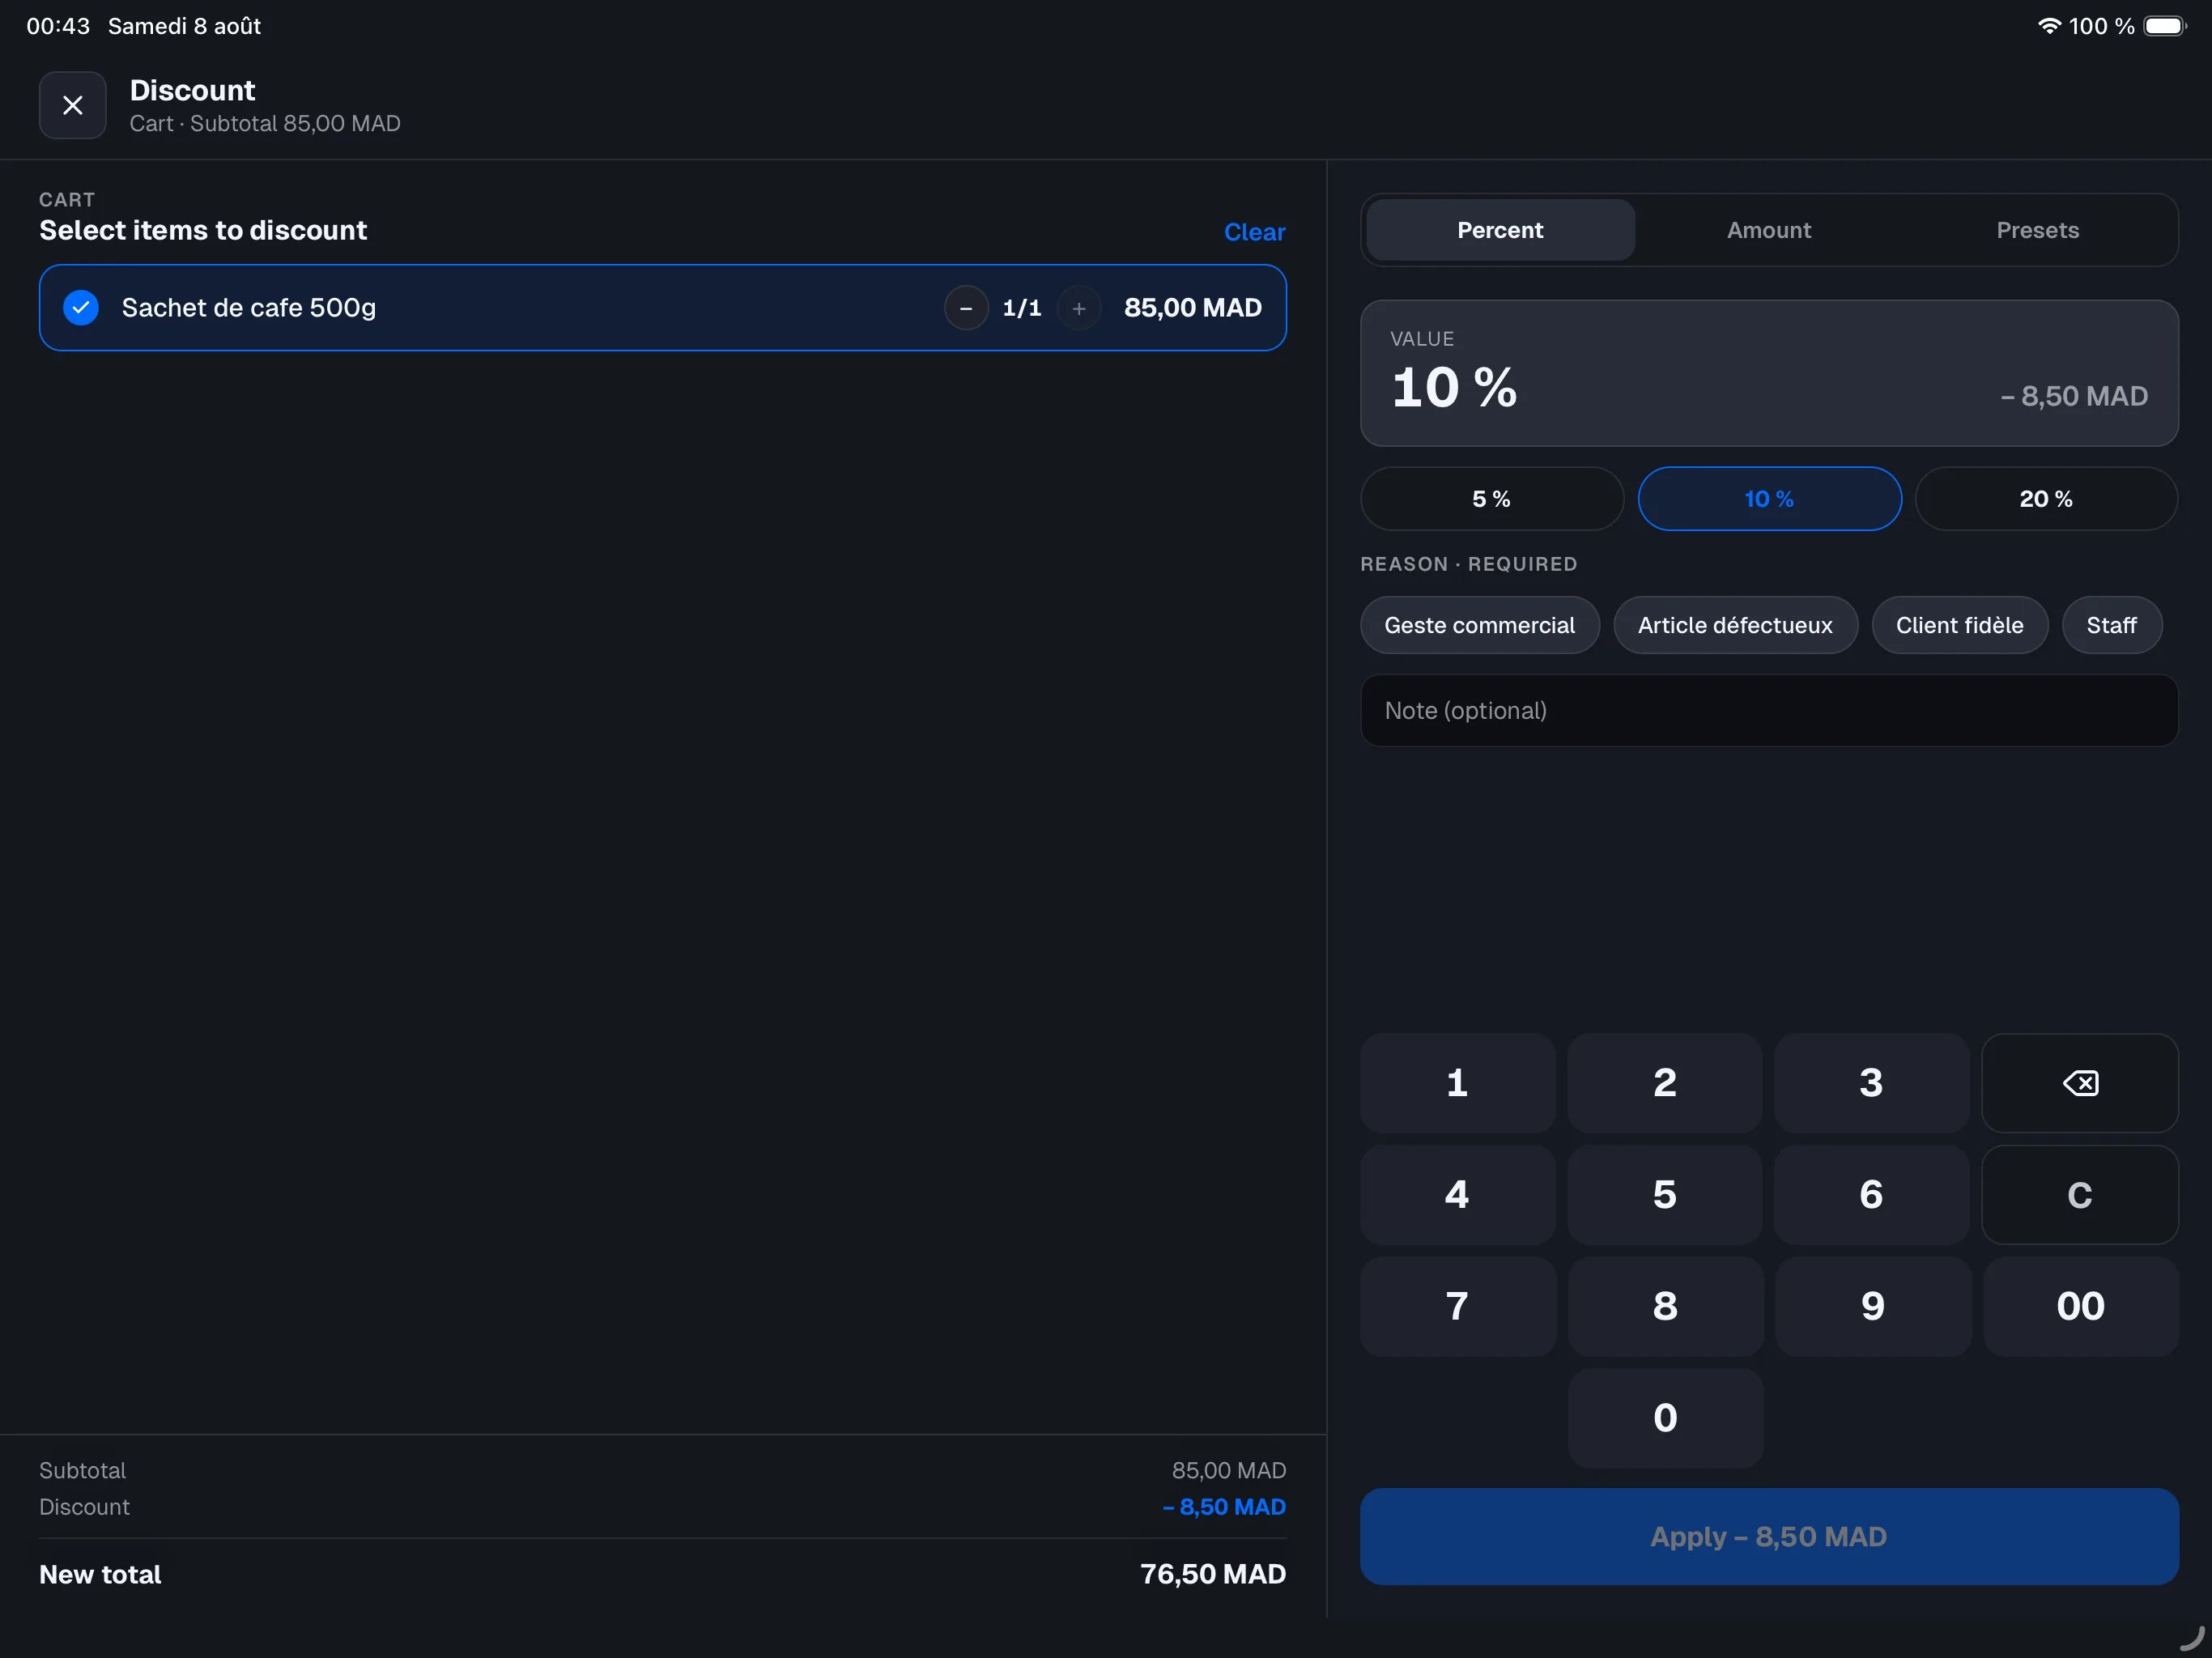
Discount lets you reduce the price of an order — or offer items on the house — before payment. The screen opens for anyone; manager approval is decided at Apply: a free discount, a comp, and a preset with a lock need a manager (PIN, or nothing if a manager is already signed in); a preset configured without a lock applies in one tap.1
Tap Discount
The discount screen opens with every item selected — ready for a discount on
the whole check. To target specific items, tap Clear and select them one
by one; the − / + stepper picks how many units of a line are concerned
(1 of 2 coffees, for example).
2
Choose the type
- Percent — a percentage off, with 5 % / 10 % / 20 % shortcuts or the keypad; - Amount — an amount of your choice, typed on the keypad; - Comp — the selected items are offered: they stay on the bill at zero; - Presets — named discounts prepared ahead of time (“Loyalty club”, “Staff”…); one tap applies them with their value, their name serving as the reason. See Discounts.
3
Give the reason
For a free discount or a comp, the reason is required: pick it from the list
your venue has set up (managed in the backoffice). You can add a short
free-text note. A preset already carries its name as the reason.
4
Confirm
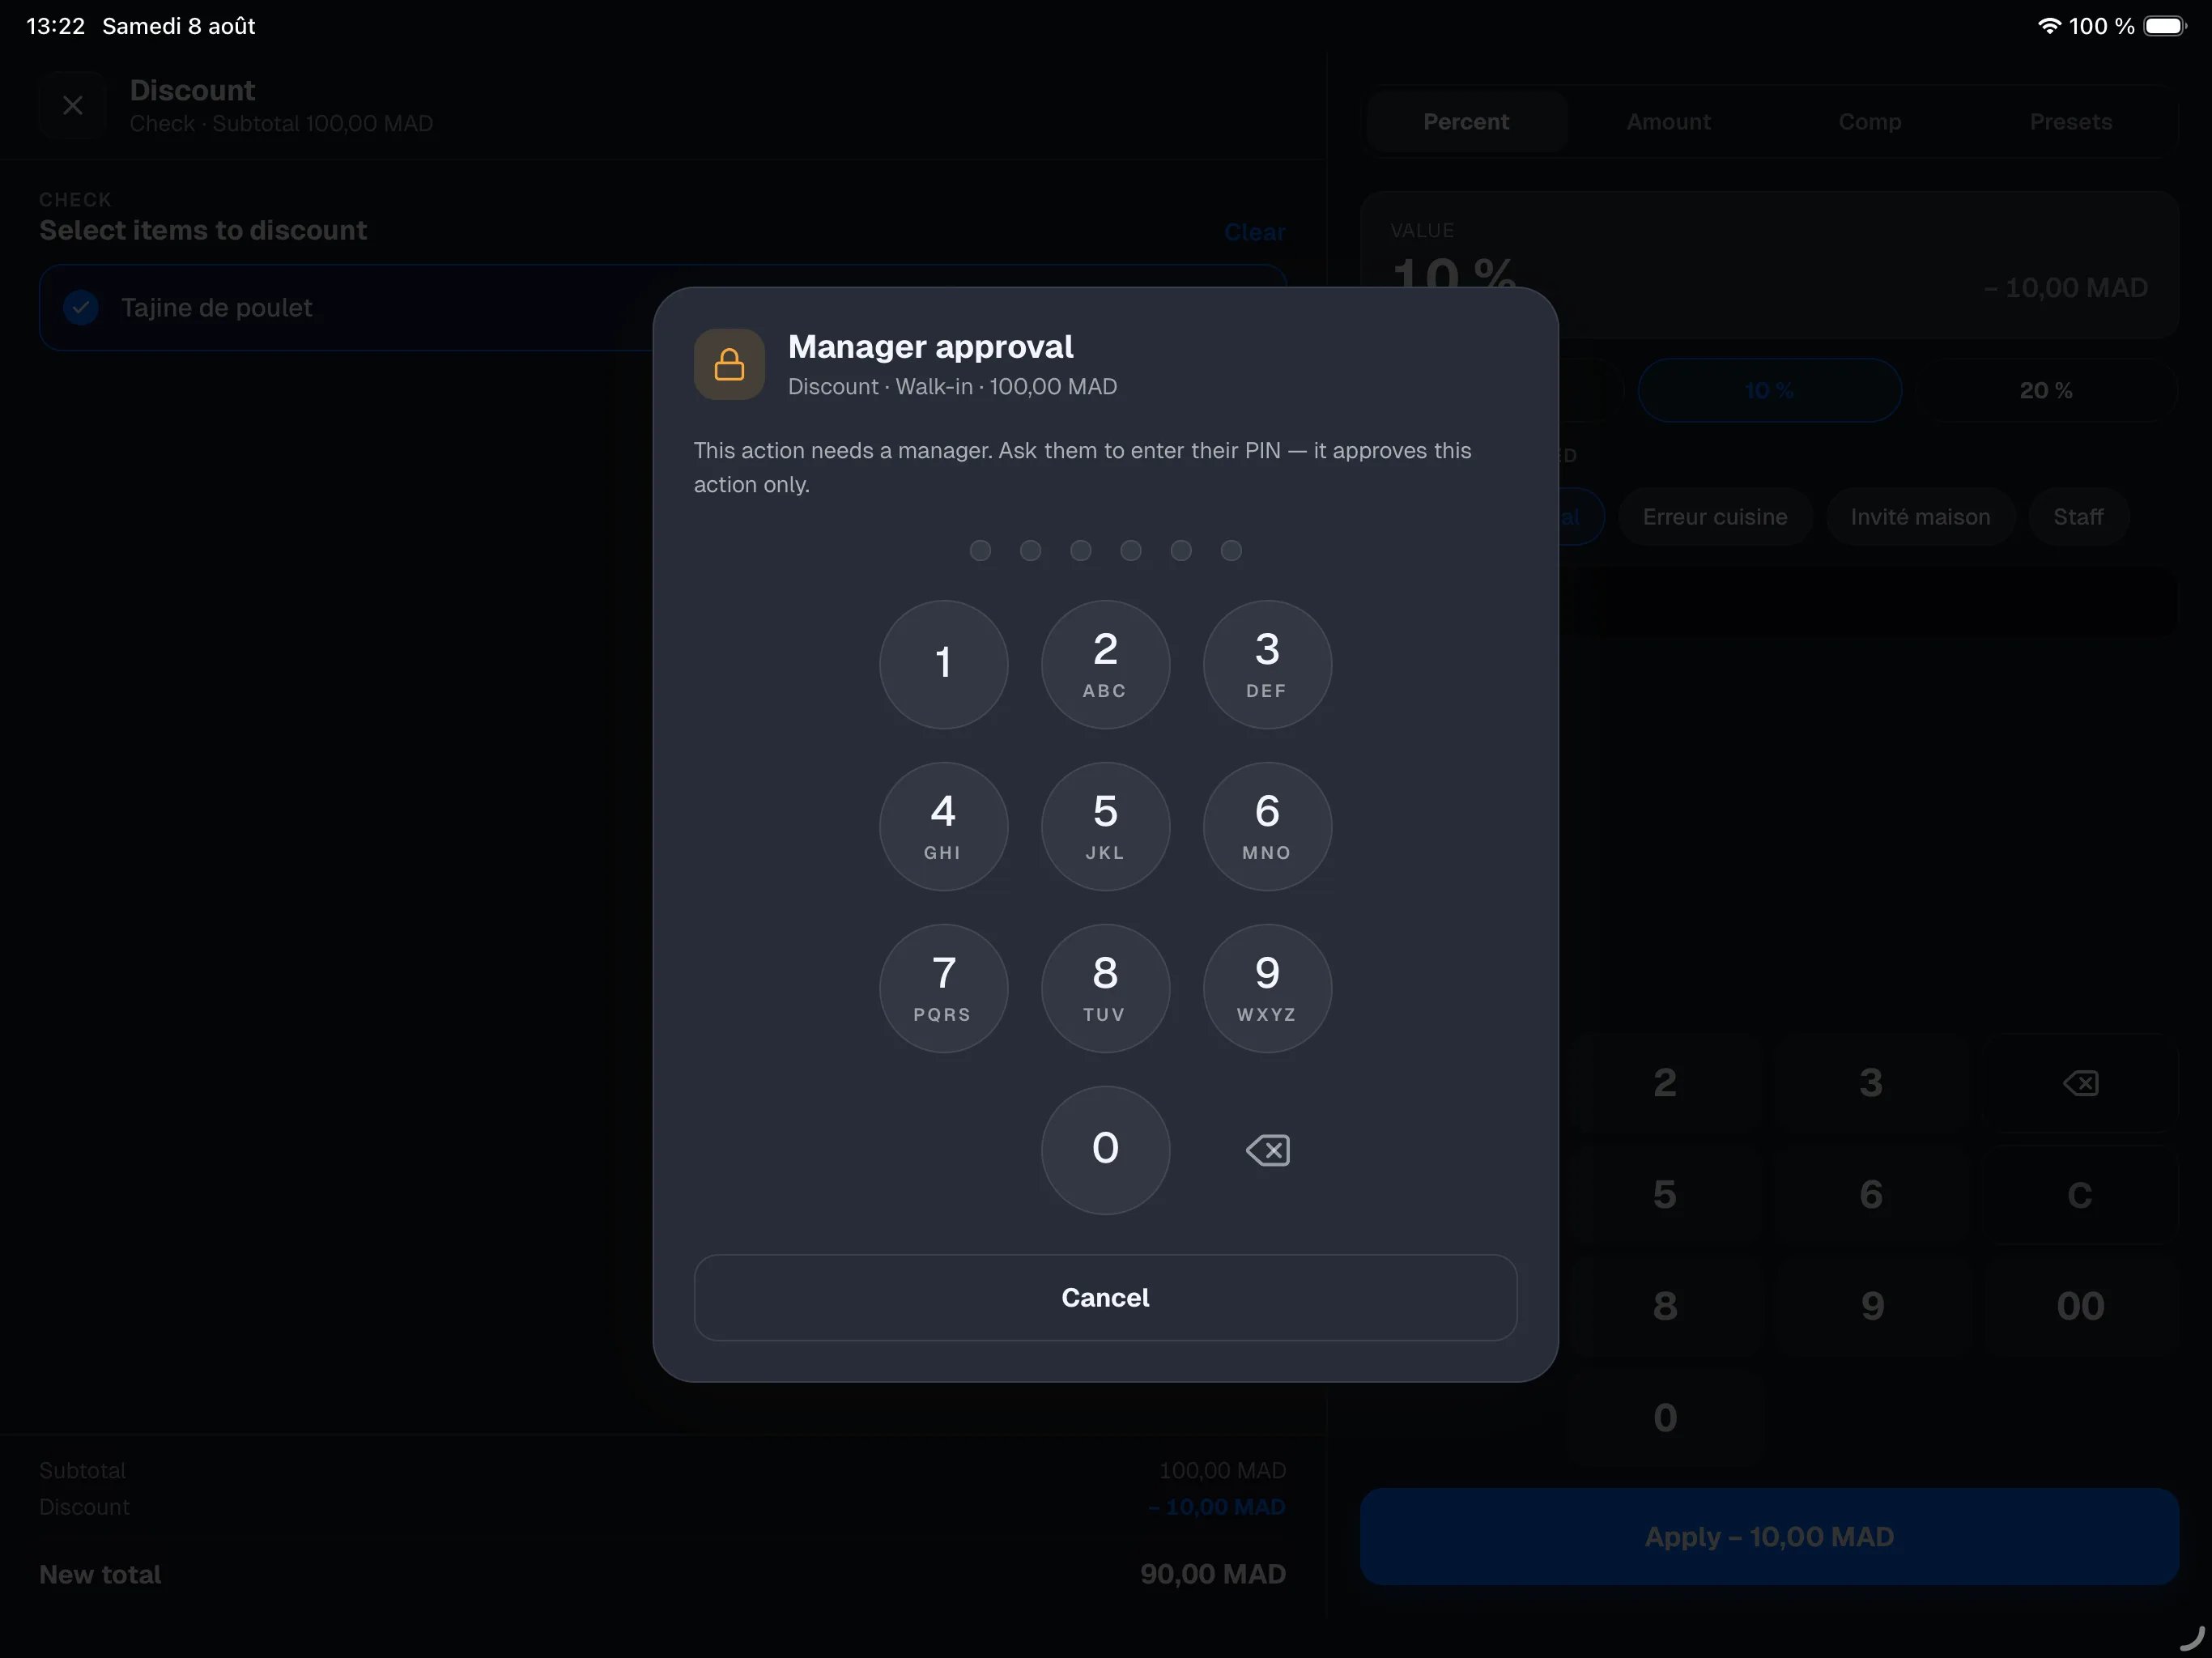
Tap Apply (or Comp). If the action needs a manager and none is
signed in, a manager enters their PIN. The discount shows on the check with
its reason, and the new total applies to the bill and the payment.
One percent or amount discount at a time per check — remove it before applying
a different one. Comps can be added freely as long as units remain. Once a
payment has been taken on the check, the discount is locked: use
the refund instead if needed.
Reprint a kitchen ticket
On the main register, once at least one round has gone to the kitchen, the KITCHEN section lists each round: Reprint round 1, Reprint round 2… with the time it was sent and the item count. Tap a row to reprint the kitchen ticket for that round — handy if the ticket got lost or the printer had an issue. A round whose items have all been voided disappears from the list: there is nothing left to reprint.Void the order
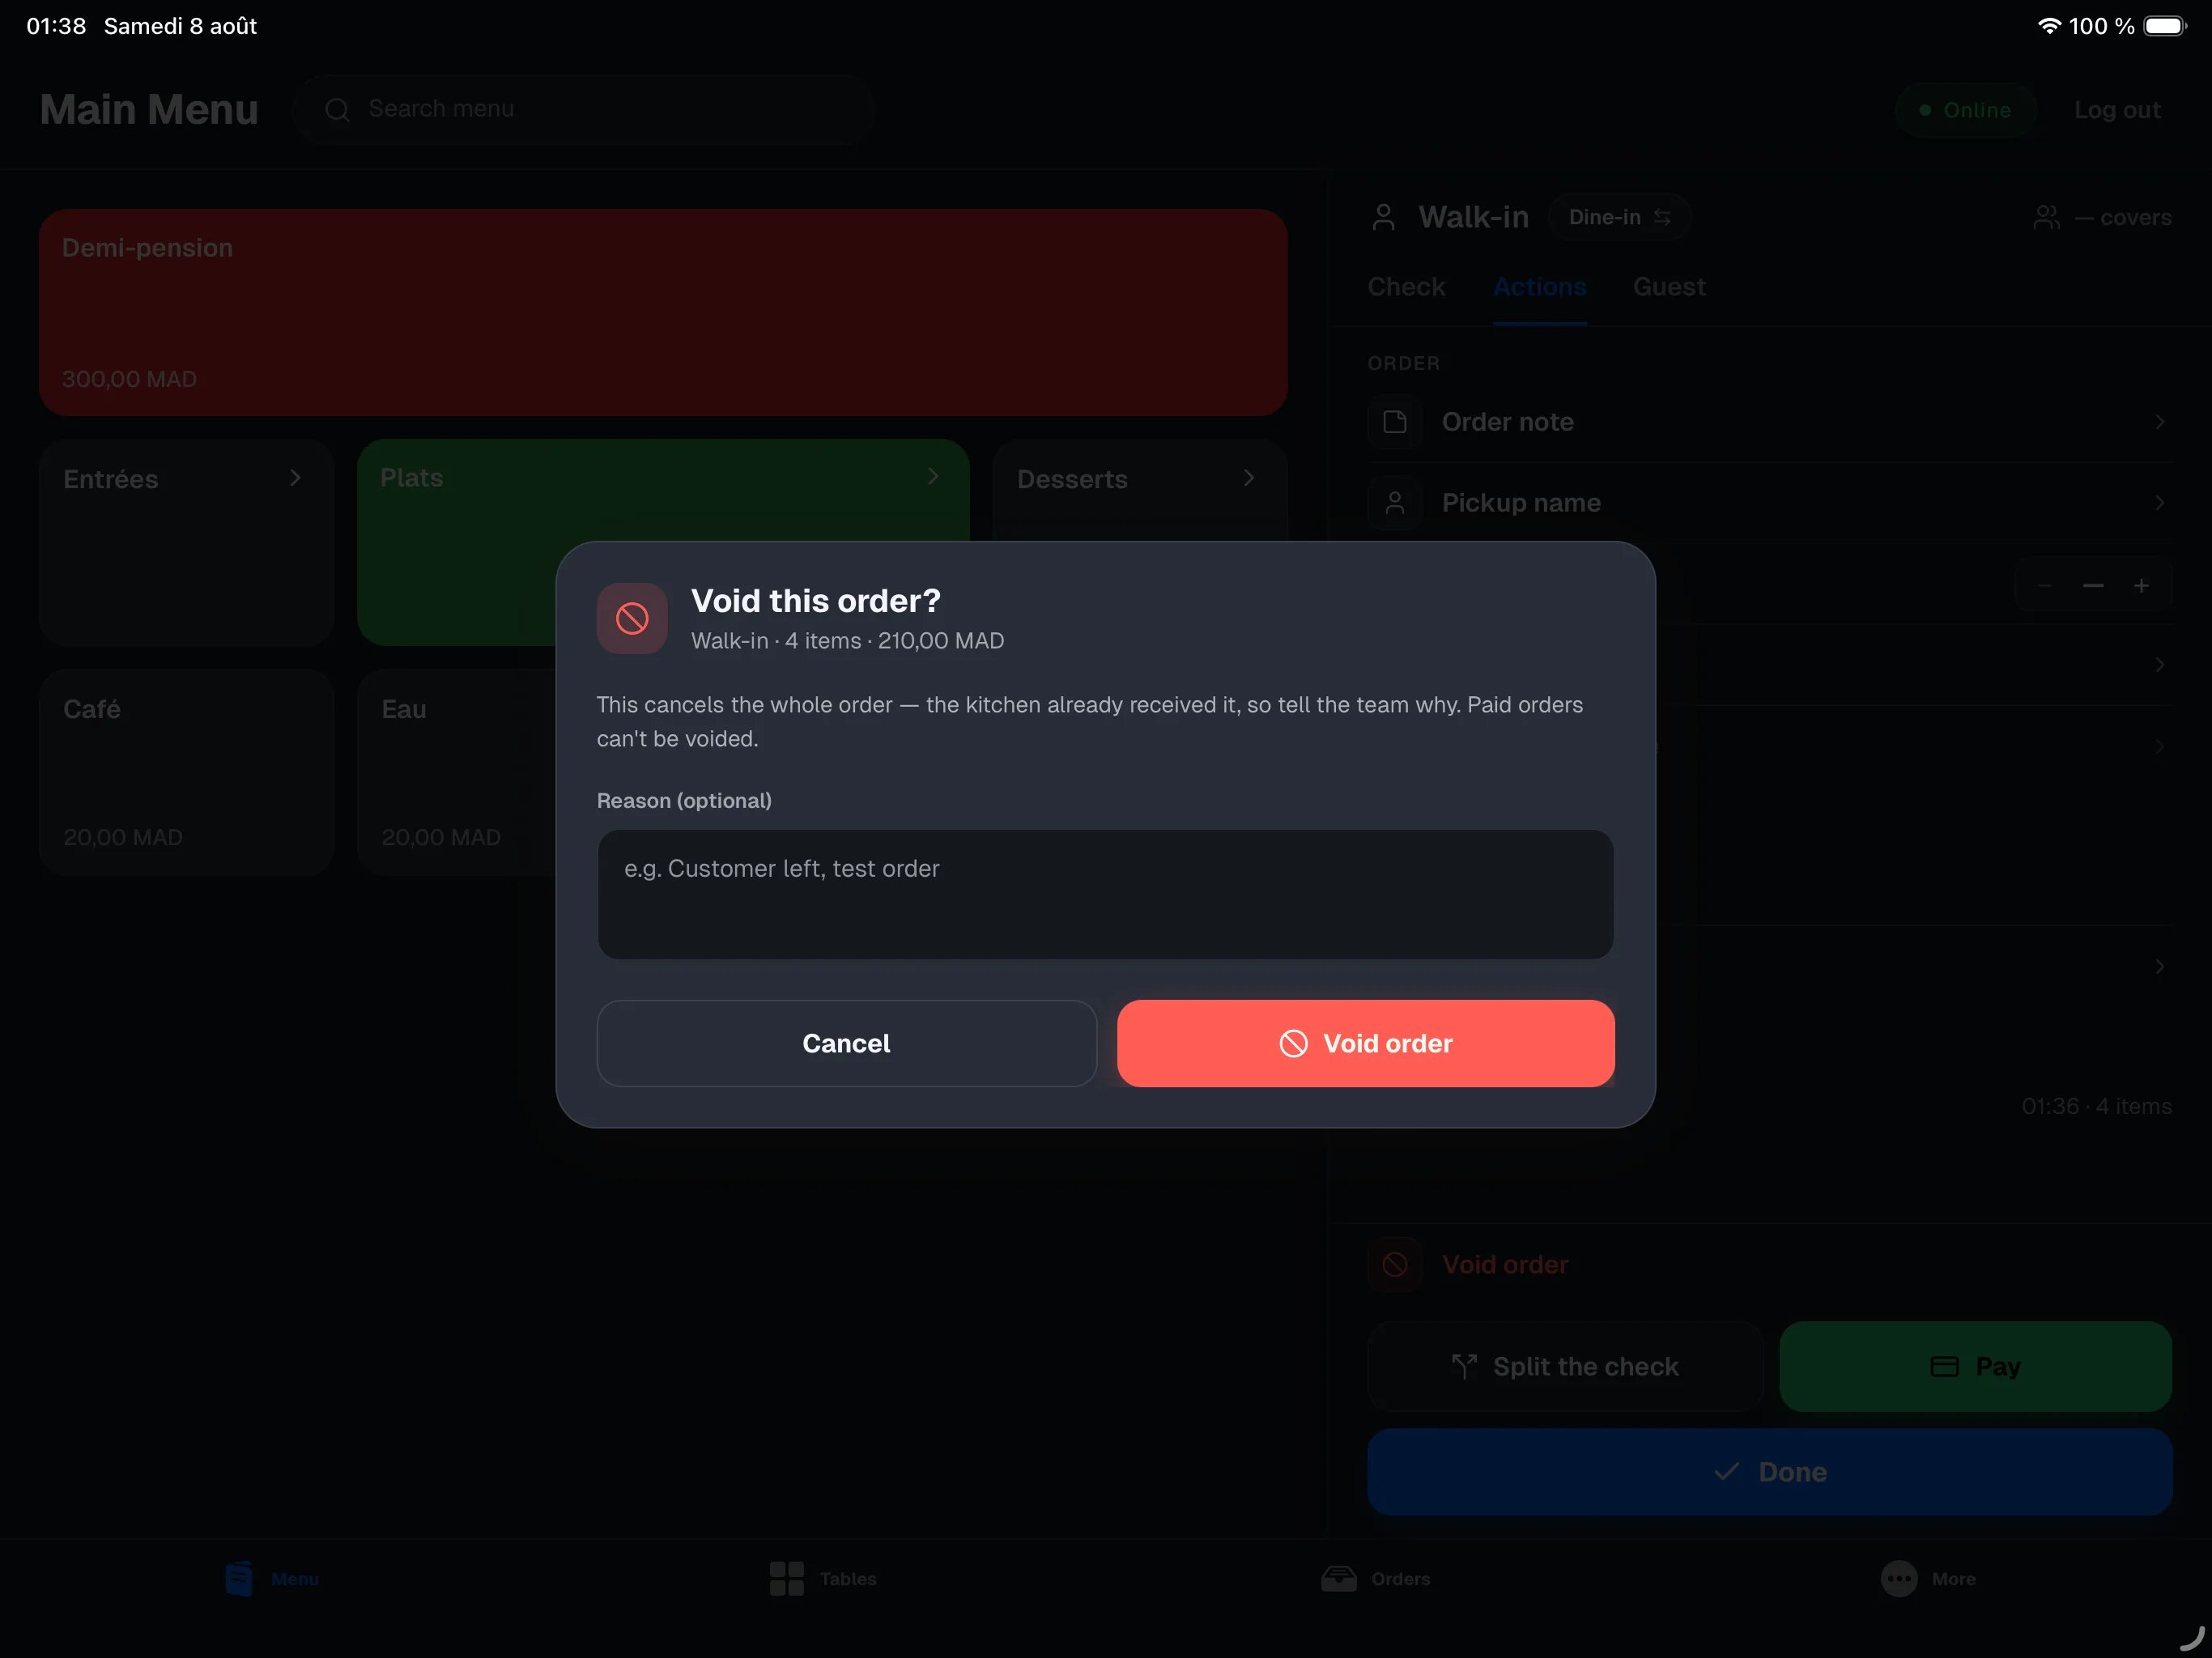
Void order, in red at the bottom of the tab, cancels the whole order: it disappears from the floor and does not count in your sales.1
Tap Void order
If items have already gone to the kitchen and you are not a manager, the
Manager approval window opens first: a manager enters their PIN to
authorise the void. On a draft order (nothing sent yet), this step does not
exist.
2
Check the summary
The Void this order? window opens, with the order summary (item count,
total).
3
Give a reason
The Reason field is optional — for example “Customer left” or “Test
order”. If items have already gone to the kitchen, take the time to fill it
in: it prints on the void ticket the team receives.
4
Confirm with Void order
The order is voided and the register returns to the orders list. If items
had already gone to the kitchen, each station involved receives a void
ticket so they know what to discard.
On a paid order
The Actions tab stays useful once the order is paid. On the main register, as soon as a check is paid, the RECEIPTS section appears with, for each sale:- Reprint receipt — reprint the sale’s receipt, see Receipts and printing;
- Issue invoice — issue an invoice for this customer.