

Before you start, you need:
- an iPad for the main register (a second one if you want a secondary device);
- in-store Wi-Fi, the same network for every iPad;
- a computer with a browser for the backoffice.
1
Create your account
Open the backoffice in your browser, then go to the Create an account
page.Fill in Full Name, Email, Password, and Confirm Password,
then tap Create account. The password must be at least 8 characters.
2
Create your organization and location
On first sign-in, the backoffice shows the Welcome to NowOS wizard,
in three steps:
- Organization — enter your business name in Organization name, then Continue.
- Team — describe your first location: Location name, Mode (Restaurant or Retail), Currency, Display locale, and optionally the country, address, and timezone. Tap Continue.
- Receipt identity — what prints on every receipt: Legal business name, Address, Tax ID label and Tax ID value (SIRET, ICE…), plus VAT number and Footer text as options. Tap Finish setup. You can edit this later under Settings → Receipts.
3
Create a minimal menu
You need at least one item placed on a POS tile, then published, to sell. In the
backoffice:
- Open Menu → Items (in retail mode: Products) and tap New item (New product in retail mode). Give it a name and a price.
- Open the Menu Builder (in retail mode: POS Layout). Add your item as a tile on the home screen from the library on the right.
- In restaurant mode, leave the catalog as a draft for now so you can configure its preparation destinations before publishing it.
4
Set up preparation stations (restaurant mode)
Before the first send, open Settings → Preparation stations:
- Create every real destination — for example Kitchen, Bar, or Pass. A station can be created empty, even before the catalogue is finished.
- Choose its mode: Verbal handoff when staff call orders out, Printer for a dedicated ticket, or No preparation for ready-to-serve items.
- Assign every item from the station or from its item page under Menu → Items.
- Check that Unassigned shows 0. While an item has no active station, the register blocks sending it.
5
Publish the catalog
Tap Publish all changes in the backoffice’s global header. The dialog
confirms that the catalog, its layout, its taxes, and the other saved settings
will be published together. After confirming, open the main register and tap
Refresh to download the new configuration — changes only appear on the
register after both steps.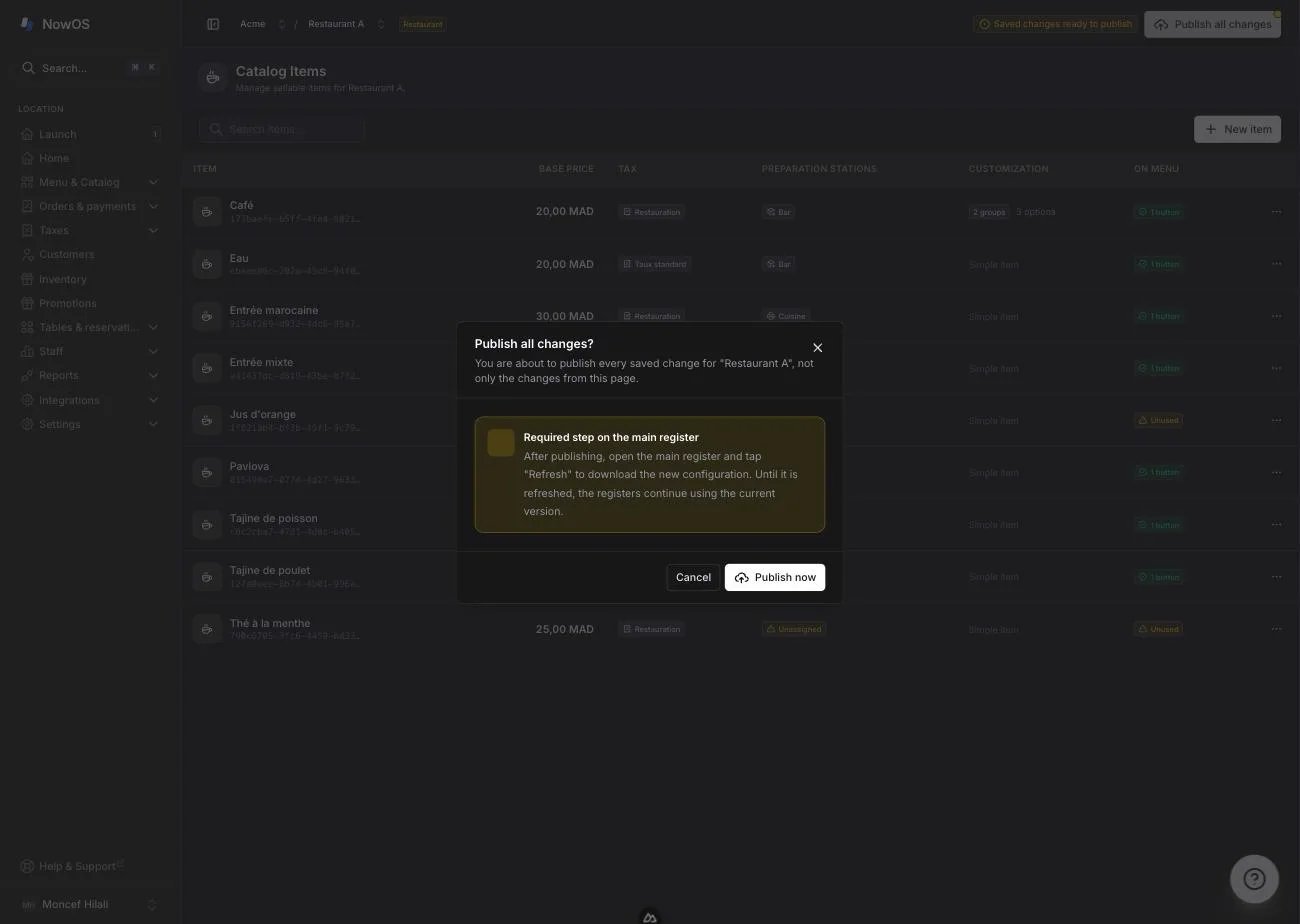
6
Set your PIN
On the register, you sign in with a PIN, not a password. Each team member
has their own.In the backoffice, open Team and, from the ⋯ menu on your line, set a PIN for
yourself. The code is shown only once: write it down. Owner and
manager PINs are 6 digits; staff PINs are 4 digits.If you forget it, the PIN can only be reset from the backoffice. See
staff.
7
Pair the main register
The main register is the iPad in charge at your location: other devices
connect to it, and it syncs your sales with the backoffice. That is why
it must stay on, plugged in, and on the store Wi-Fi during service.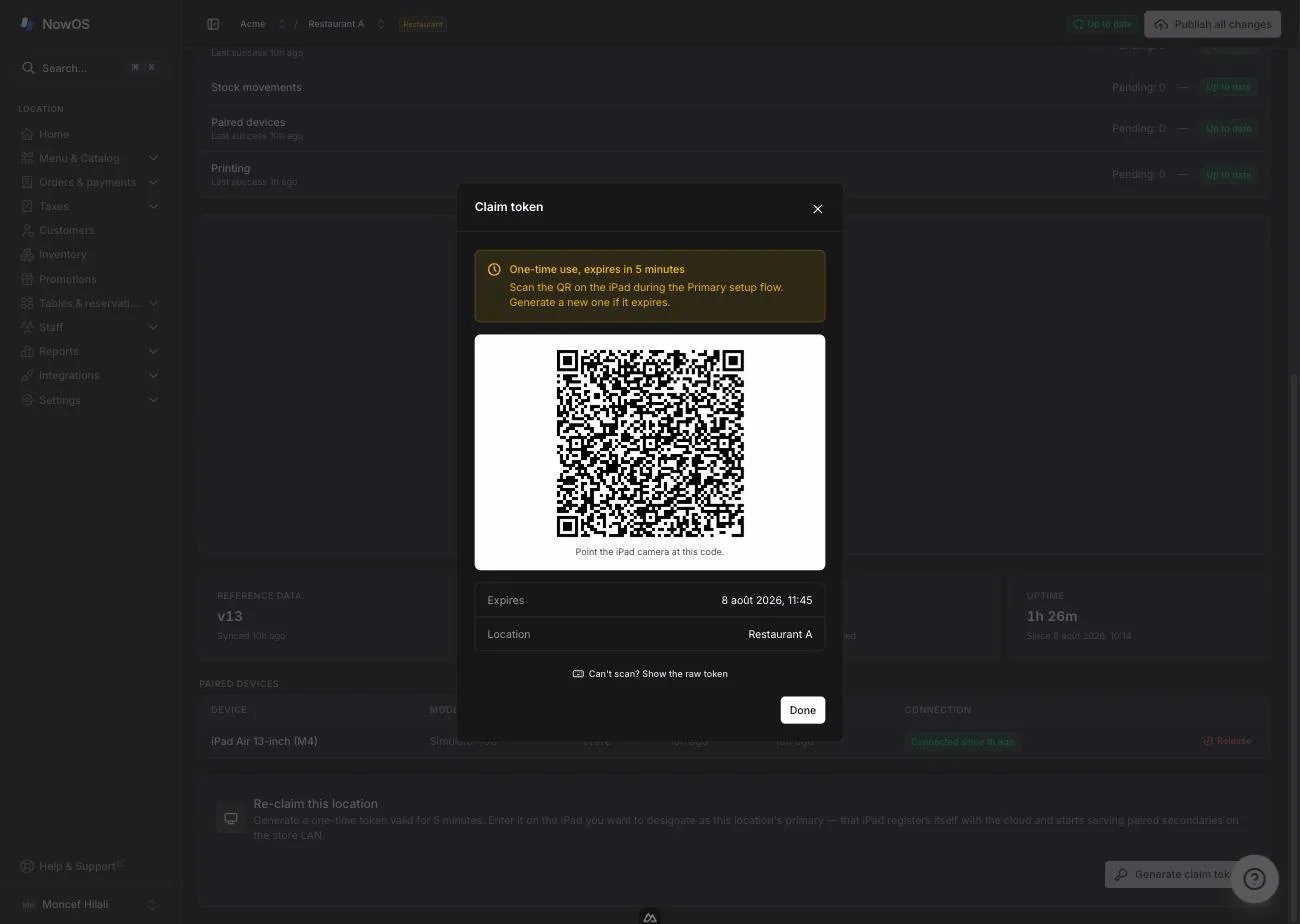
- In the backoffice, open Settings → Devices and tap Generate claim token. A QR code appears, valid for 5 minutes.
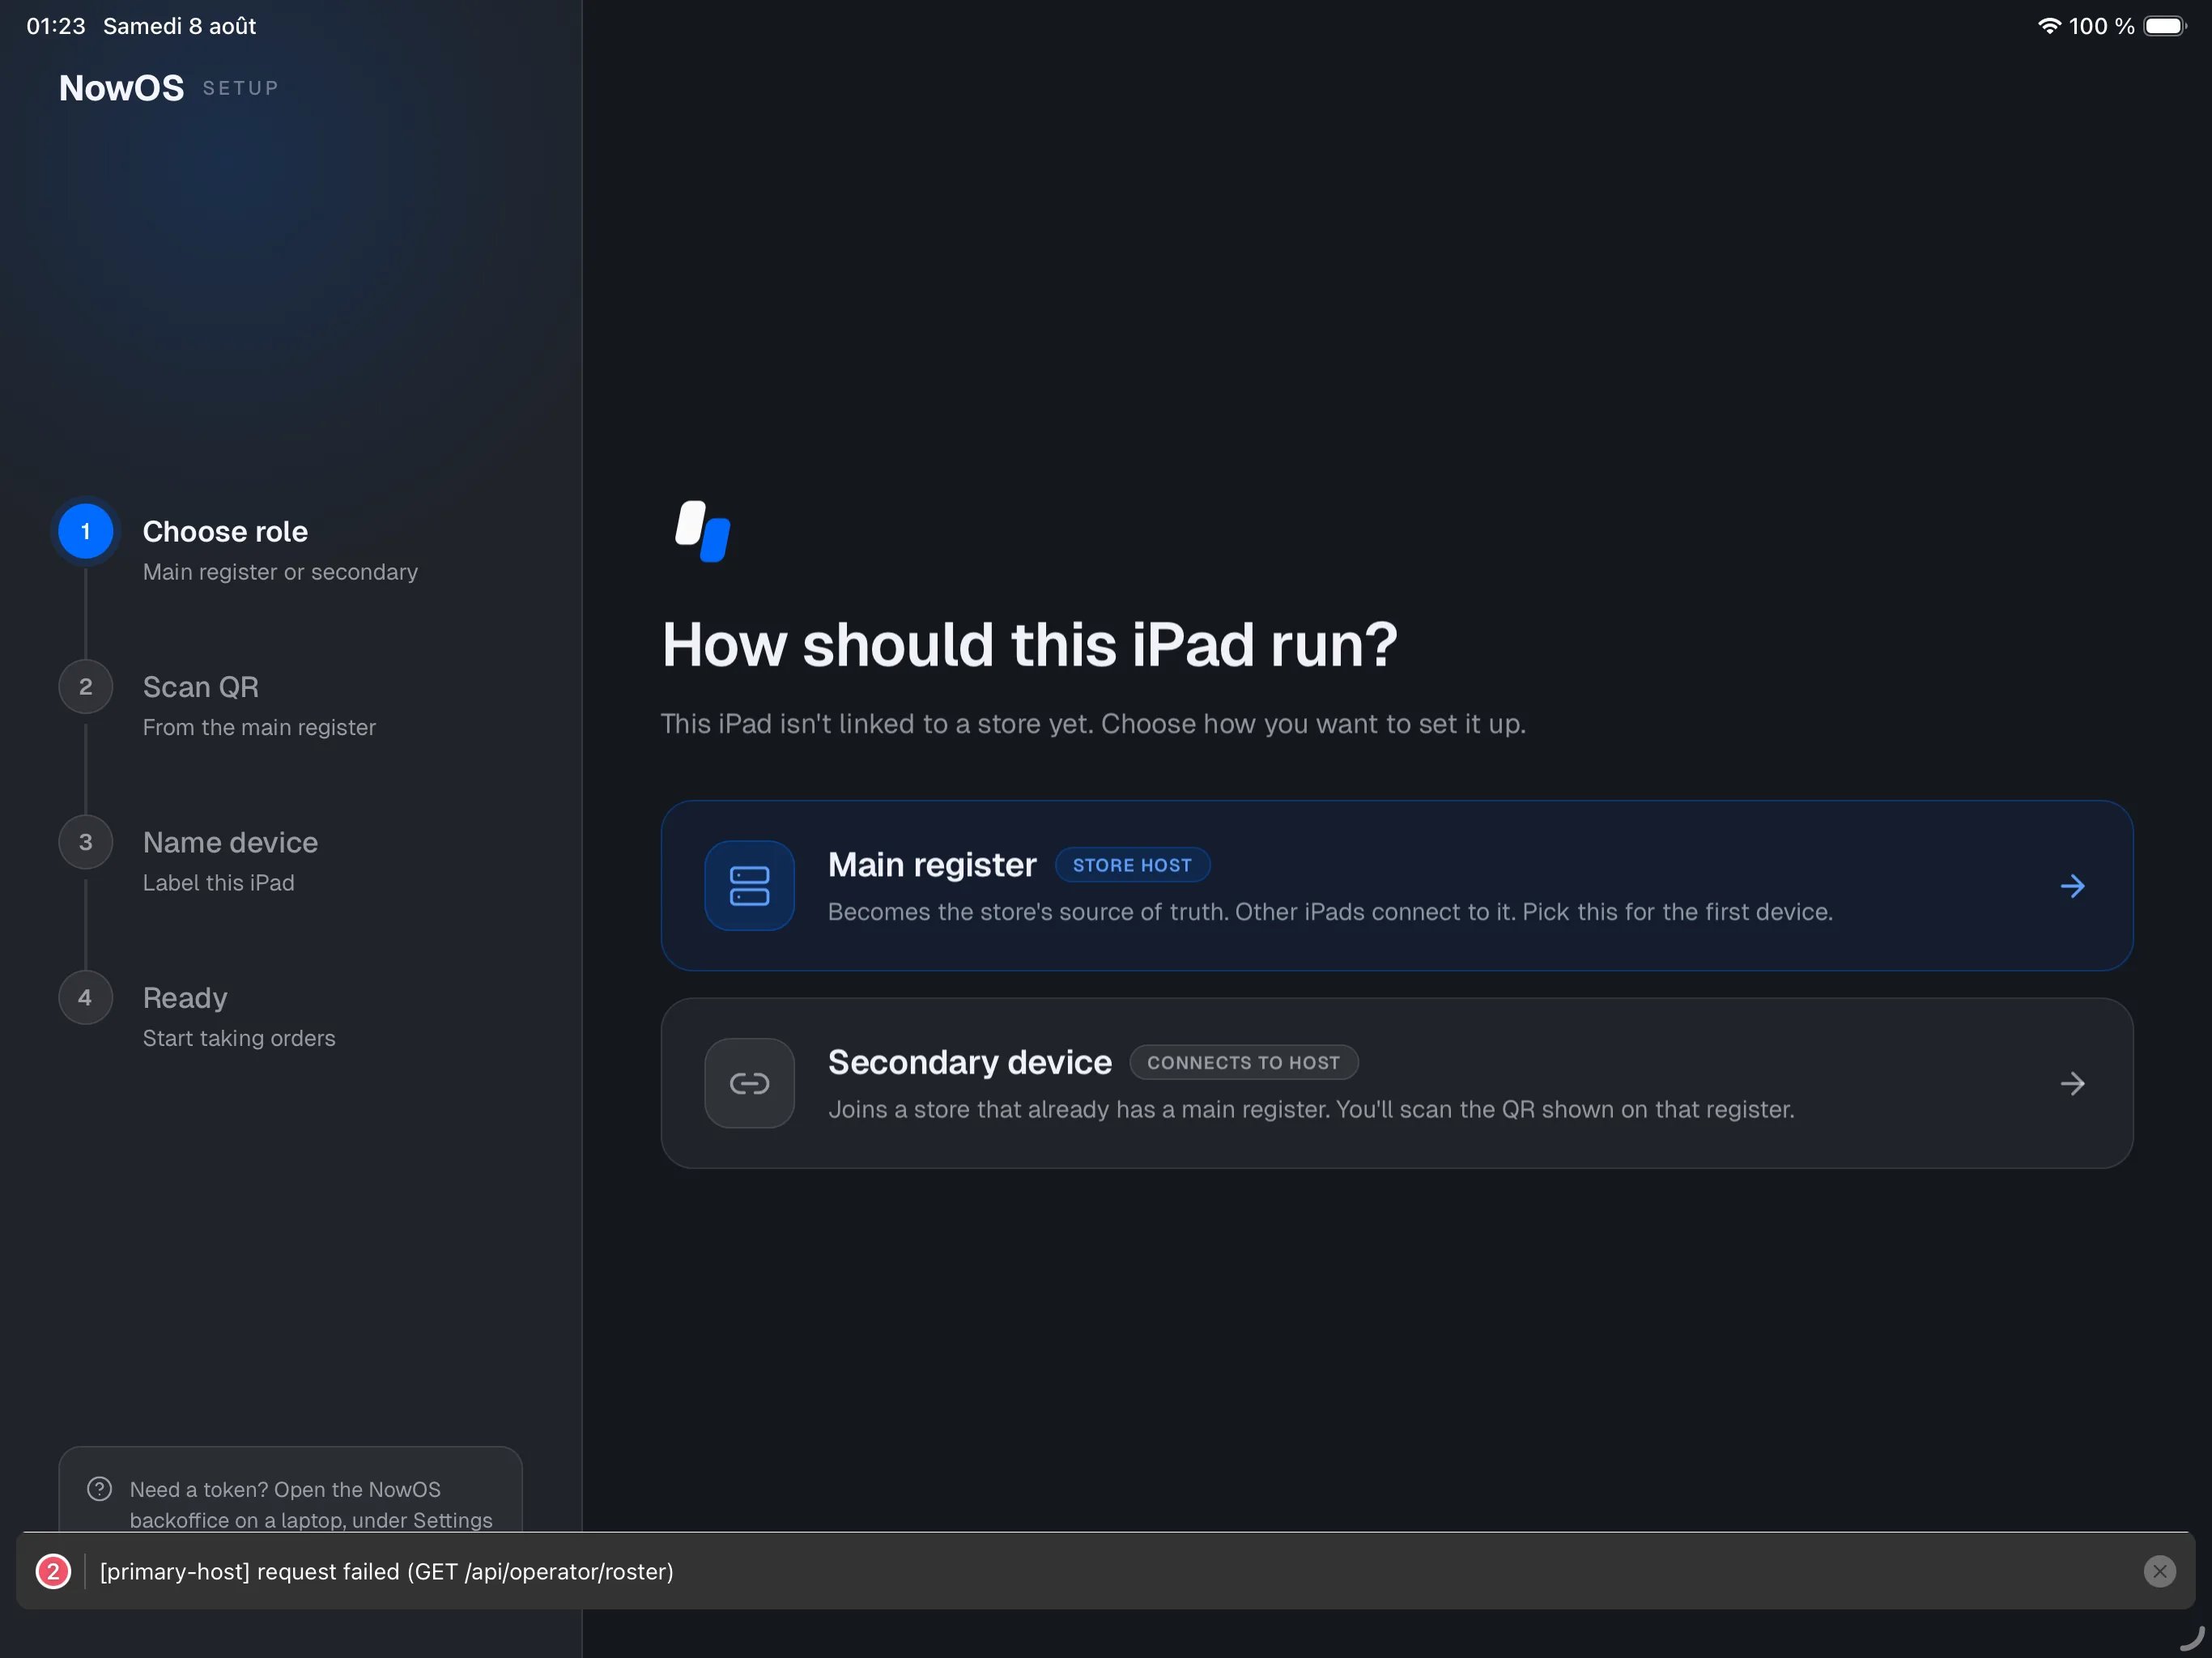
- On the iPad, open the NowOS app. On the How should this iPad run? screen, choose Primary POS.
- Tap Open camera and scan the QR from the backoffice (or paste the token under Or paste the token), then Continue.
- Give the iPad a name (for example “Front counter”), then tap Claim as Primary.
8
Pair secondary devices (optional)
You can stop here and sell with a single iPad. To add a secondary device: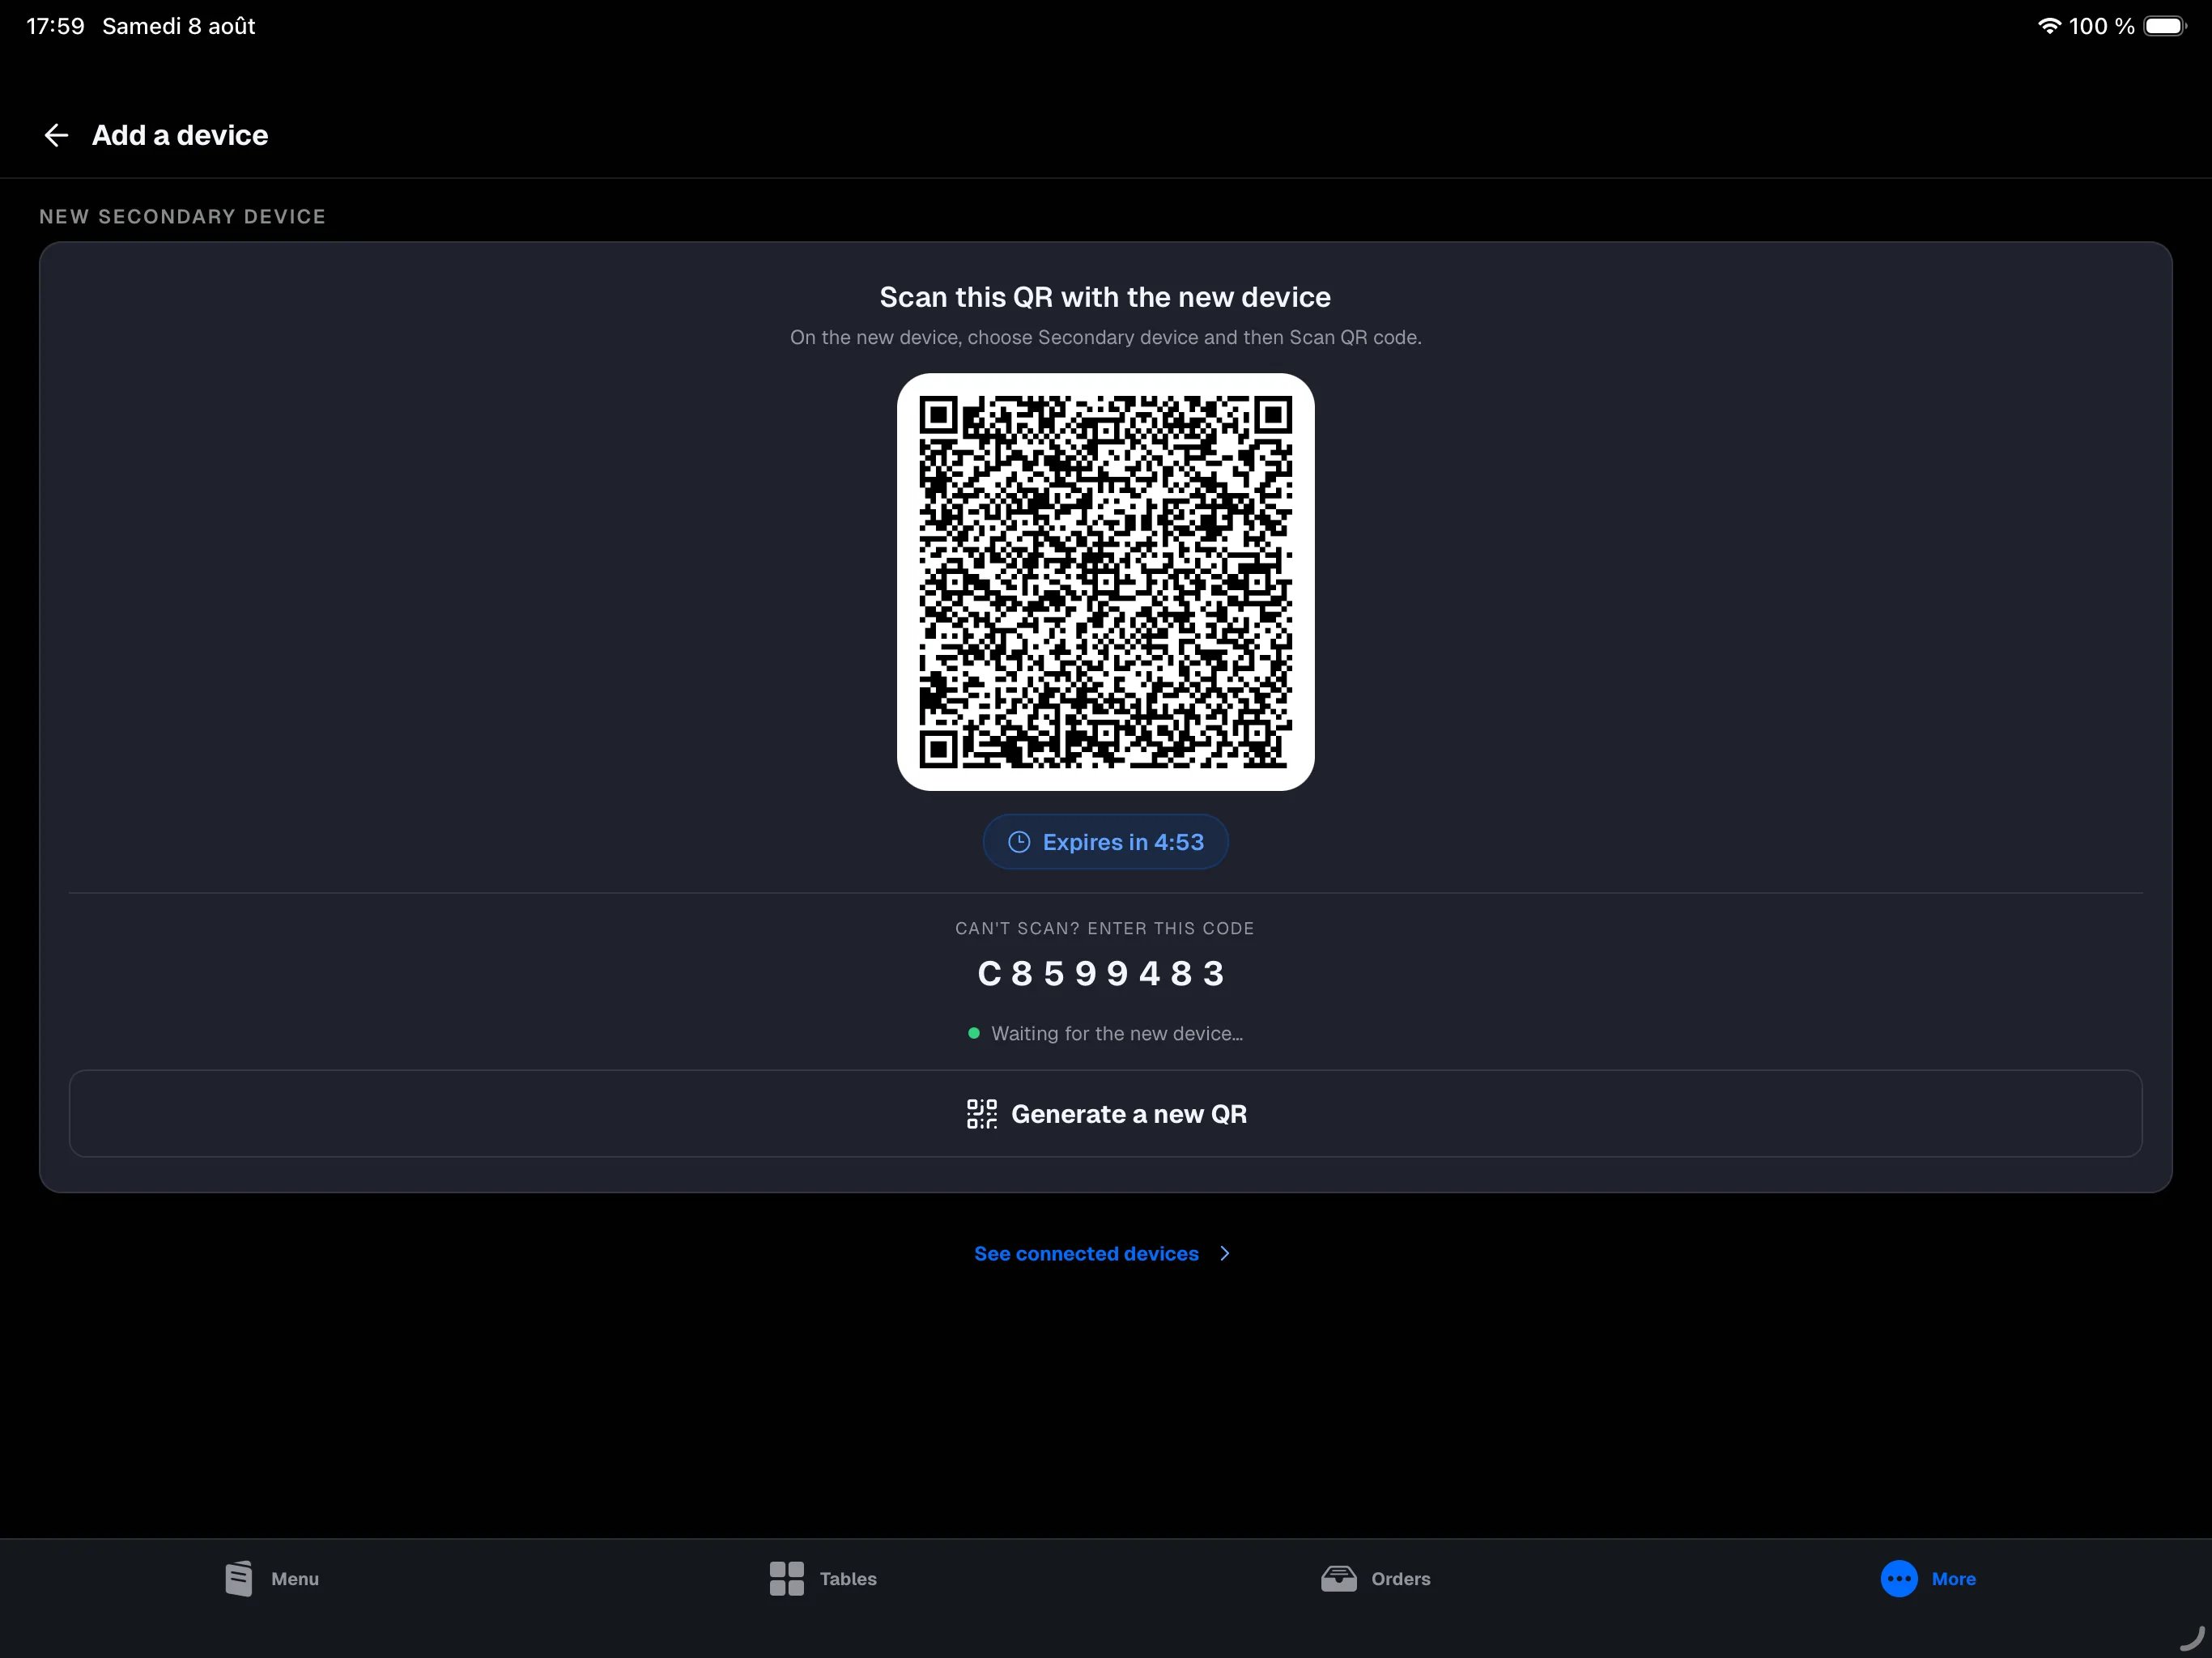
- On the main register, sign in as a manager or owner, then open More → Add a device and tap Show pairing QR. The QR shown expires after a few minutes.
- On the new iPad, open the NowOS app and choose Secondary device.
- Tap Scan QR code, scan the QR shown on the main register, name the device, and confirm.
9
Sign in and open the day
On the register, the home screen shows the roster. Tap your name, then
type your PIN.Before the first sale, the register asks you to open the business day:
the Open the day window shows the default opening float under
STARTING FLOAT. Count the cash in the drawer, adjust the amount on
the keypad if needed, then tap Open day.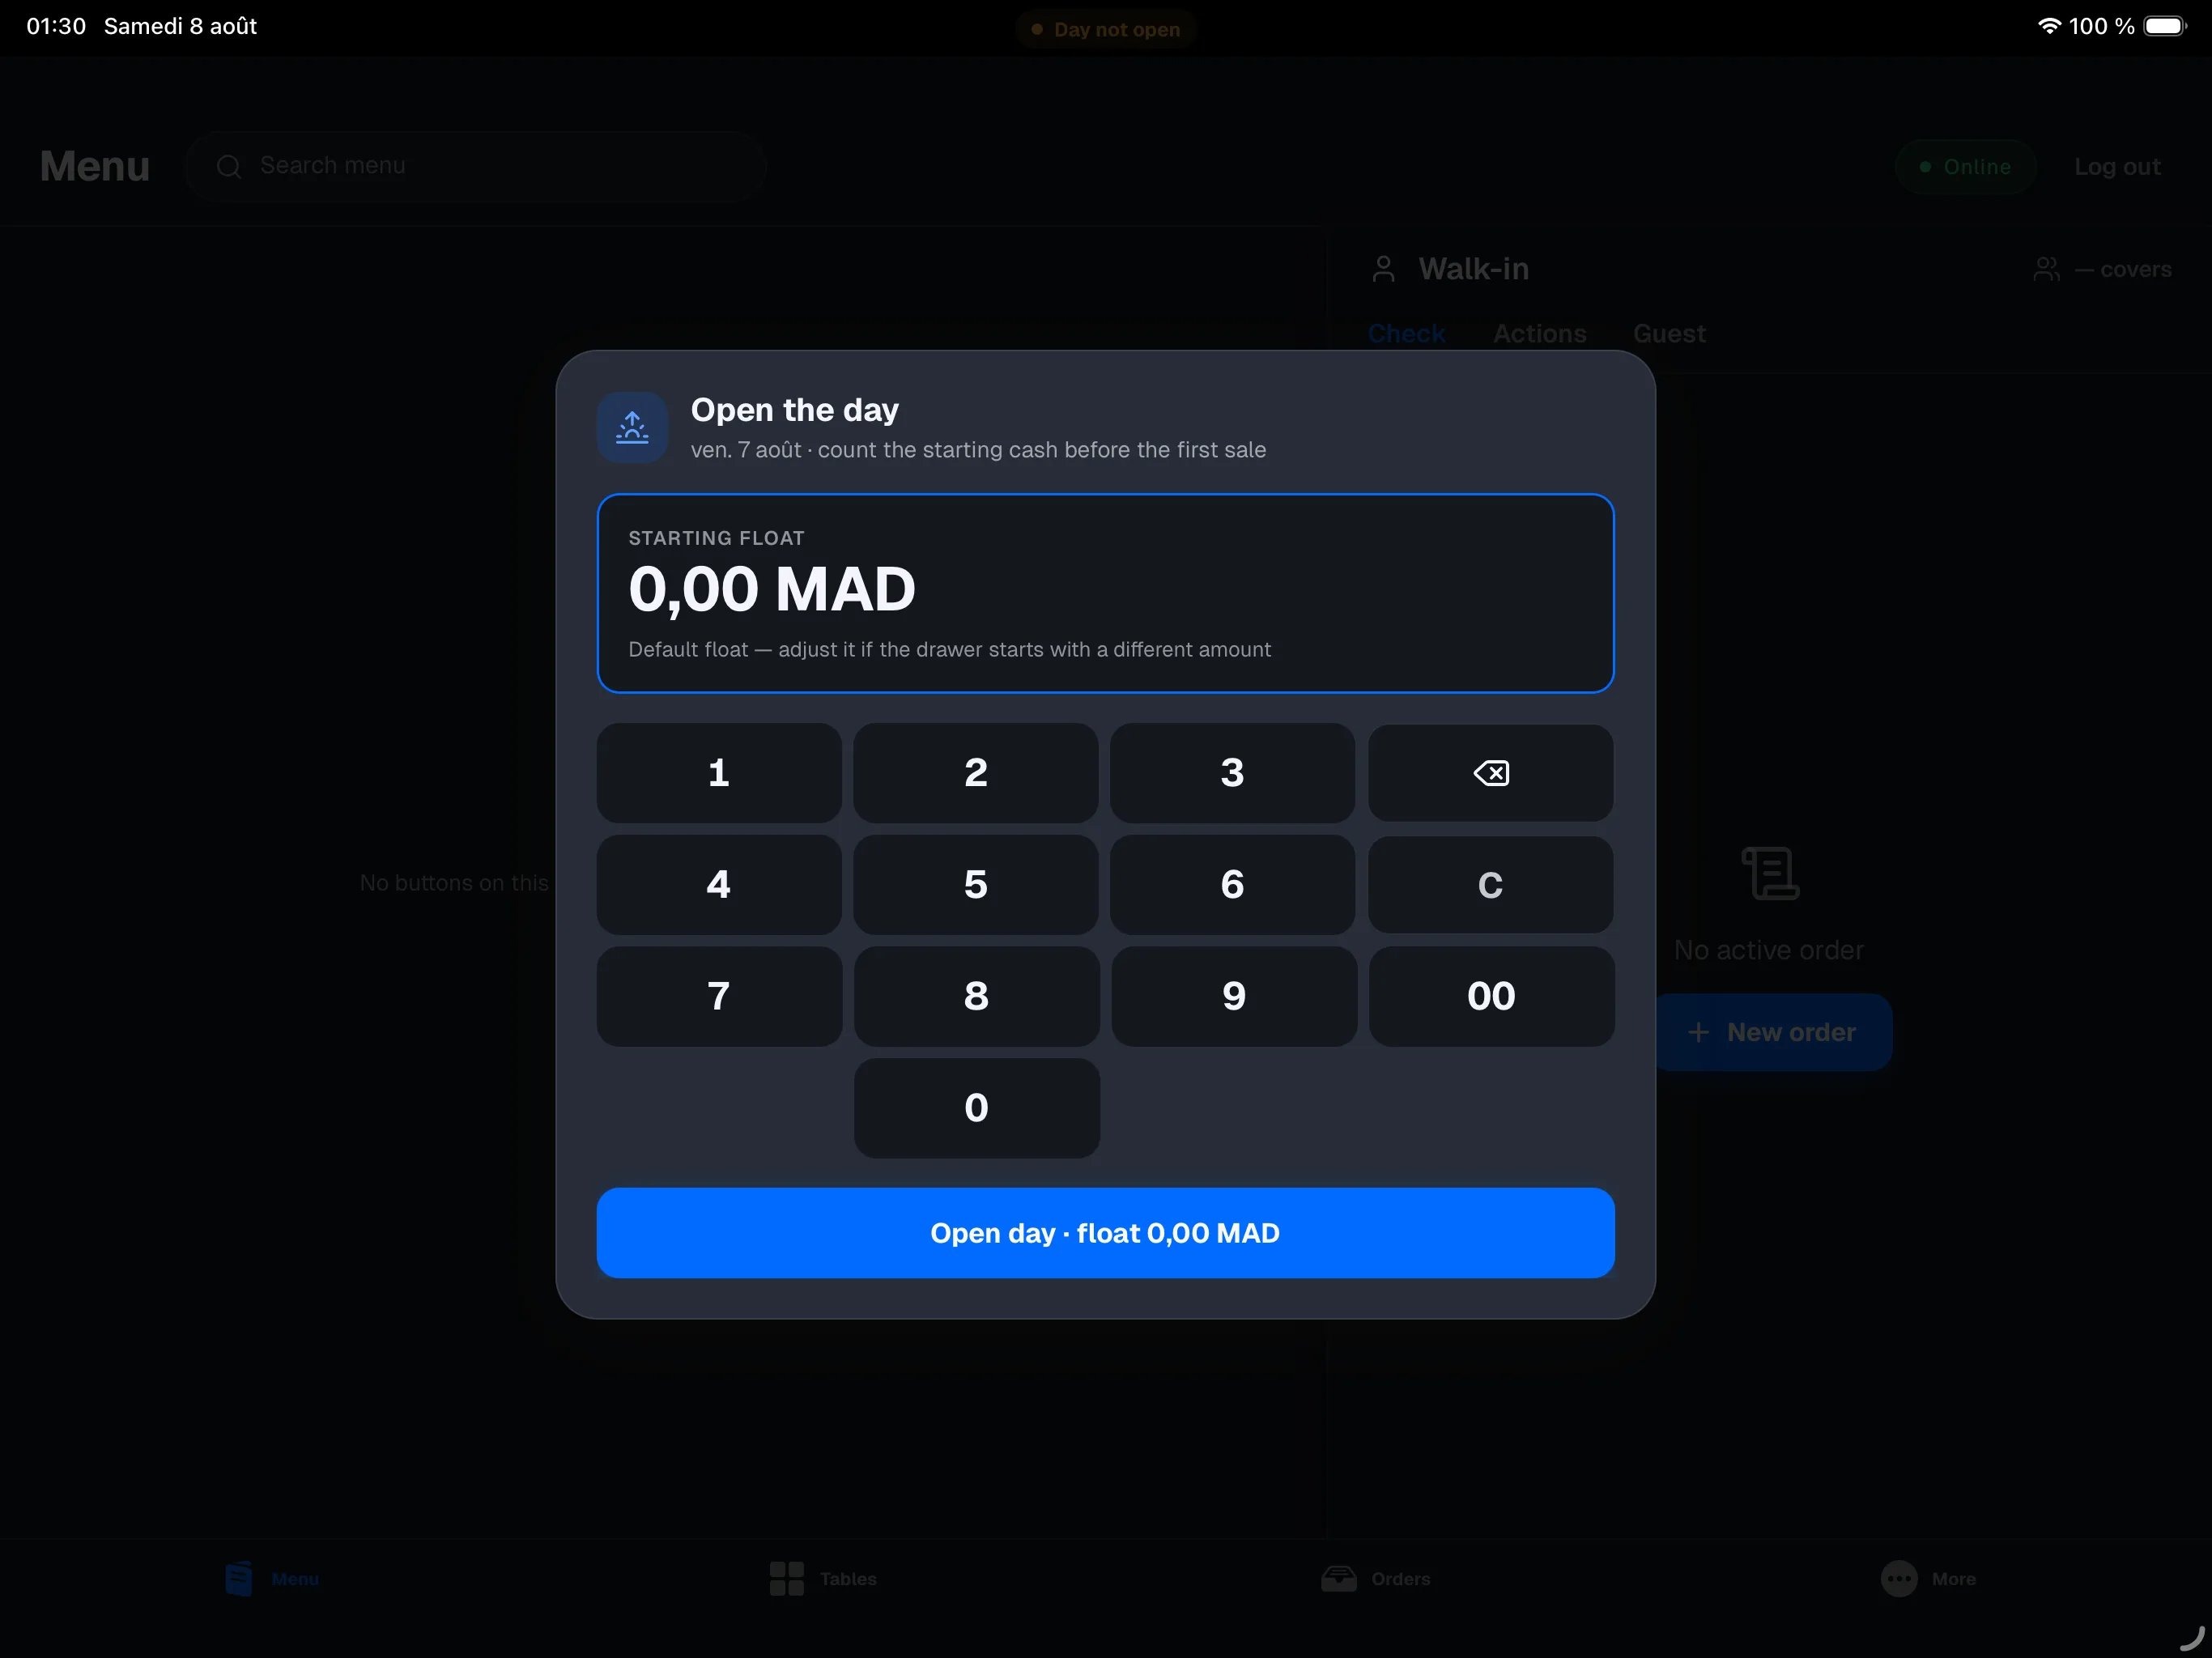
10
Take and pay your first order
Tap your item in the grid: it is added to the order in the right-hand
panel.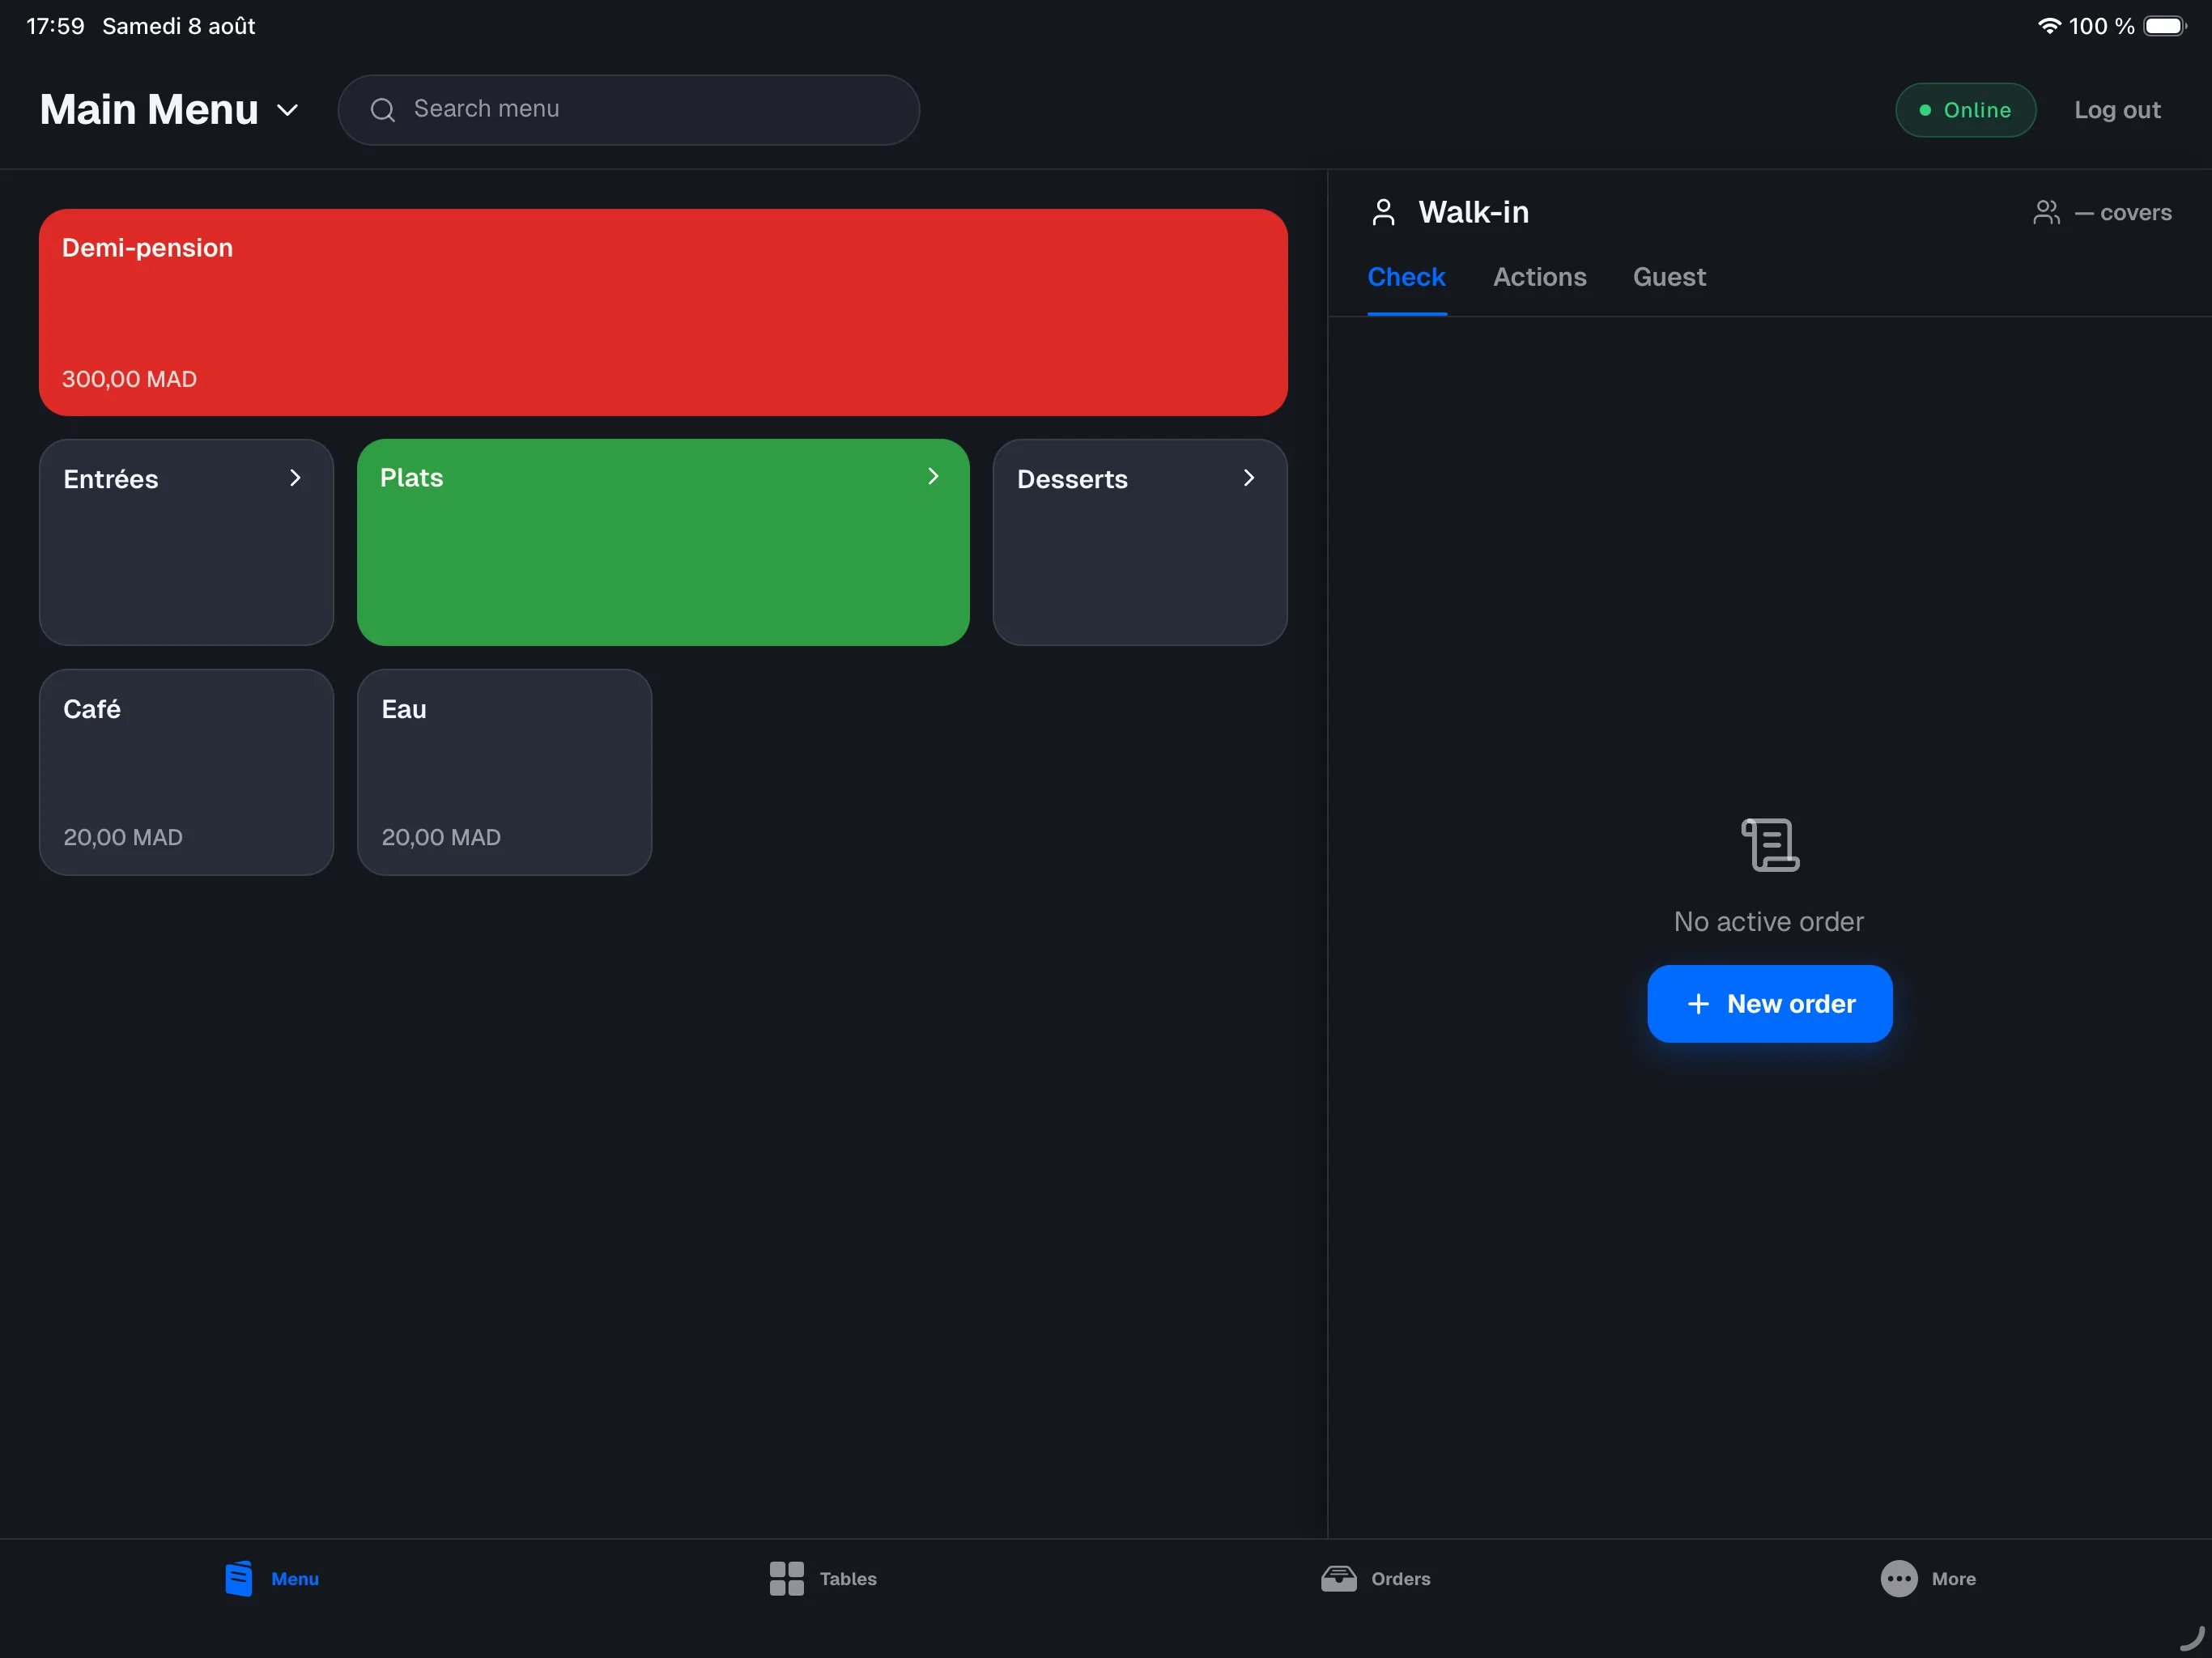
- In restaurant mode: tap Send to fire the lines to the kitchen, then Pay when the customer settles up. You can also attach the order to a table — see tables.
- In retail mode: no kitchen step — go straight to checkout.
What’s next
- Taking orders — the daily flow, in detail.
- Payments — cash, card, splitting the check.
- Close of day — count the drawer and seal the day.
- NowOS concepts — how your devices stay in sync, even without internet.